In this blog i am going to describe you the whole step and tell you how can you do more experiment on local rather than going live on server. if you want to test any themes, plugins or other changes. you should test this in local pc. that’s why we are here to install wordpress on localhost.
Now all of you are thinking about how can we do this. so the answer of this question is very easy. first of all, you have to decided which localhost service provider you are using in your pc or desktop. here is the list and you can use any of this. which one you like most. this depends on you.
In this blog, i am going to show you how to install wordpress on localhost using Xampp.
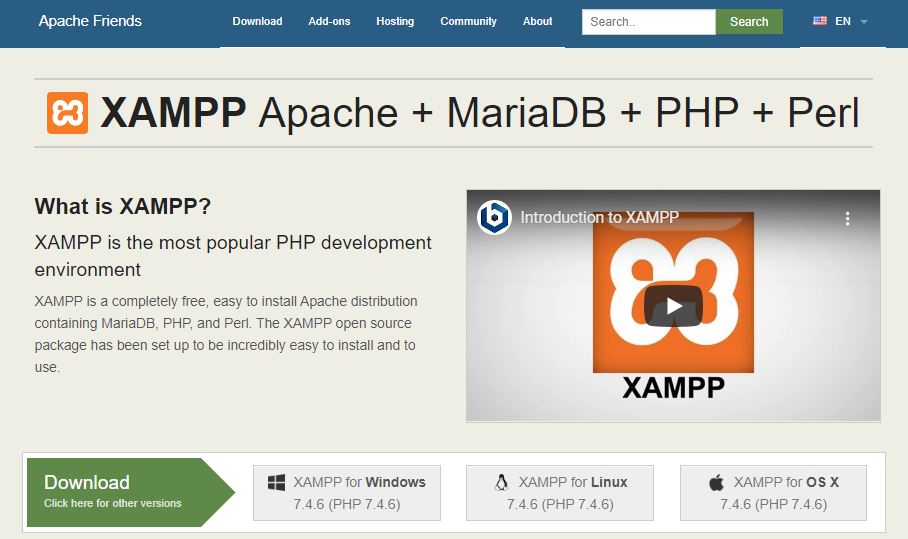
Step 1 : Download Xampp
- simply follow Xampp official site for this. and select your operating system and then download the software.
- then simply run the installer and click next button two to three times.
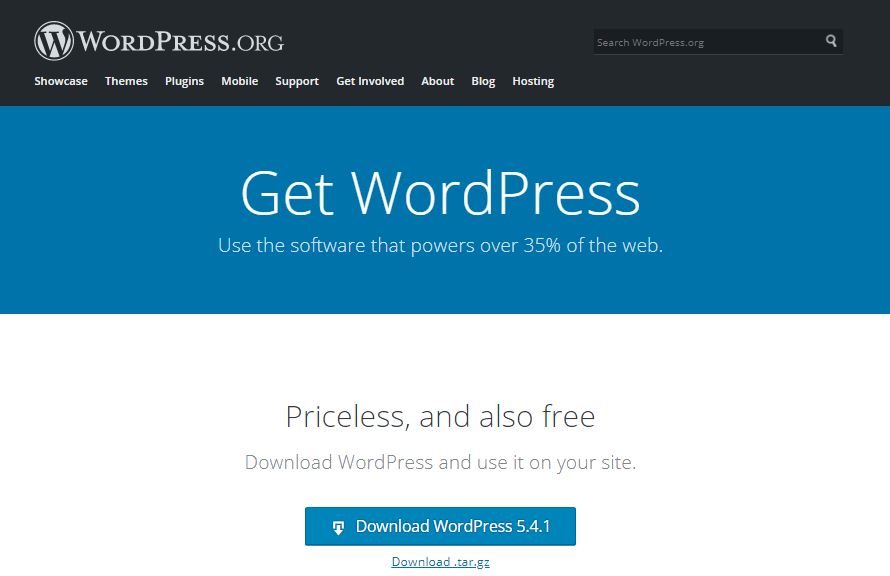
Step 2 : Download WordPress
- Open official website of wordpress and download latest version of it.
- Click on download button
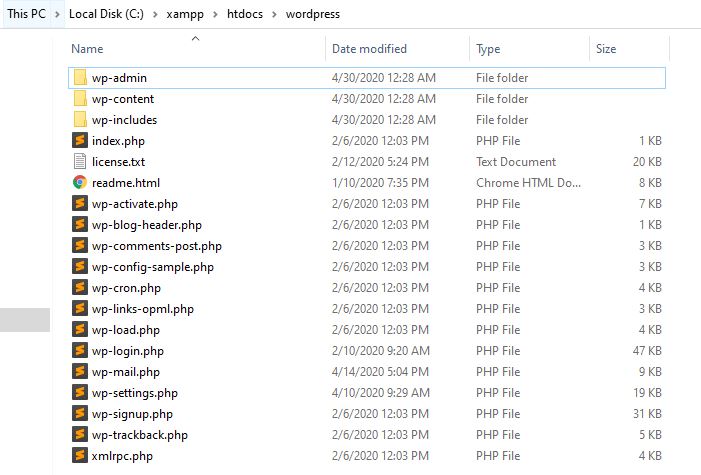
Step 3 : Create Database and setup your wordpress file location in Xampp/htdocs
- extract downloaded wordpress file in htdocs folder
- then rename folder which you want to put, in my case i am going to put it wordpress
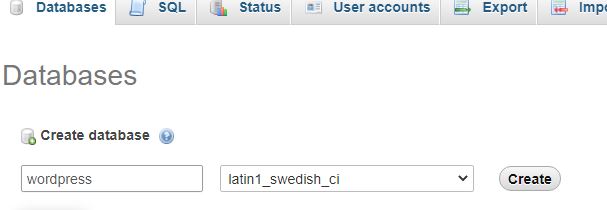
- and then open a new tab and go to localhost/phpmyadmin
- then click on New Button on Left sidebar and then type database name Like wordpress or anything which you want to put in your database.
Step 4 : Install WordPress on Localhost
- Open new tab in browser and type localhost/wordpress (eg. localhost/yourfolder name)
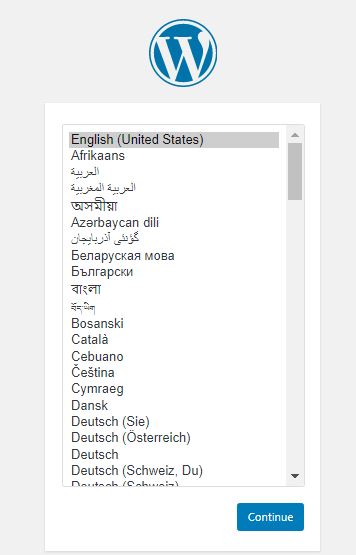
- Then select your language and click Continue button
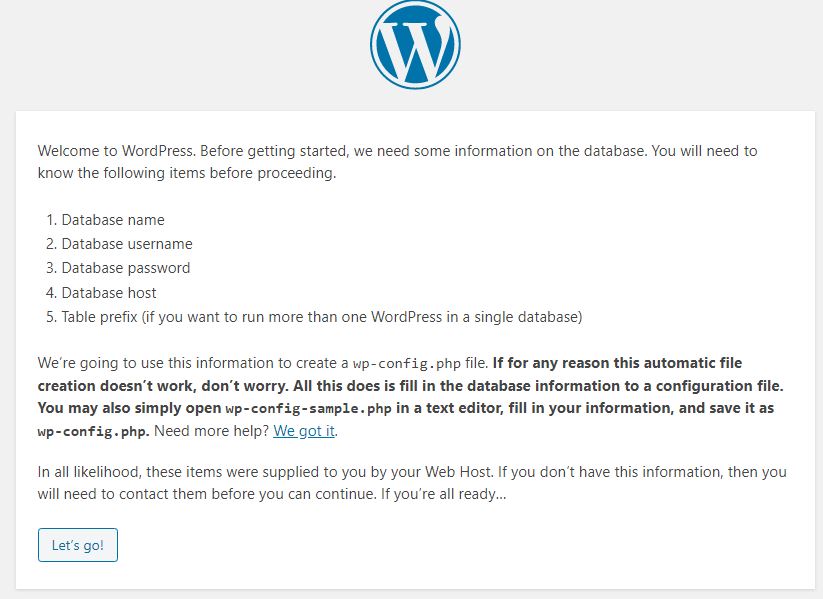
- Now you will se a welcome screen like this. in this screen you will find some basic things like:
- Database name
- Database username
- Database password
- Database host
- then click on Let’s Go Button
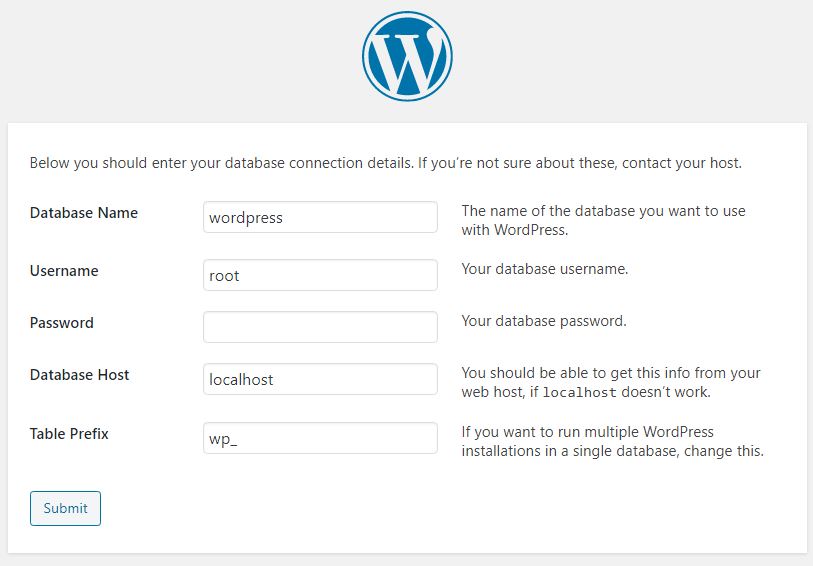
- then provide your database name and put root in user field, keep password blank and don’t change rest of field
- click on submit button.
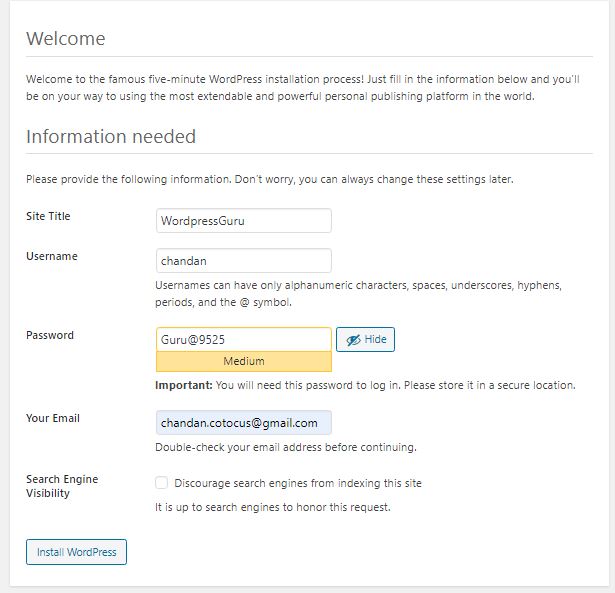
Now at last you came at your final step:
- Give a name to your site.
- type your username
- type strong password
- type your email
- then click on Install WordPress Button
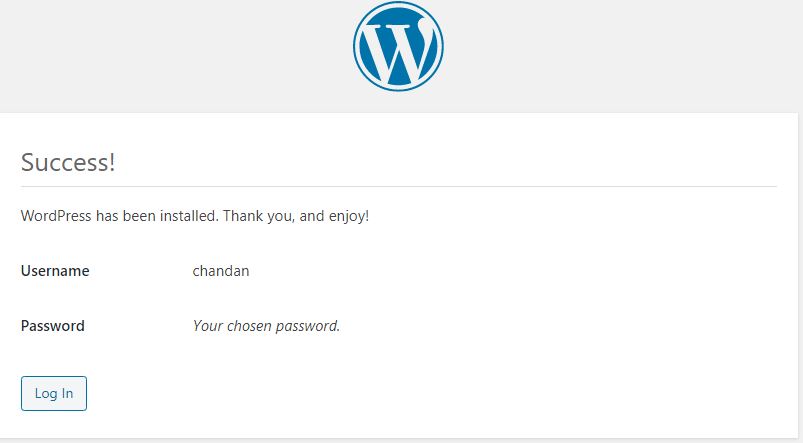
At Last you will see that wordpress successfully installed Screen.
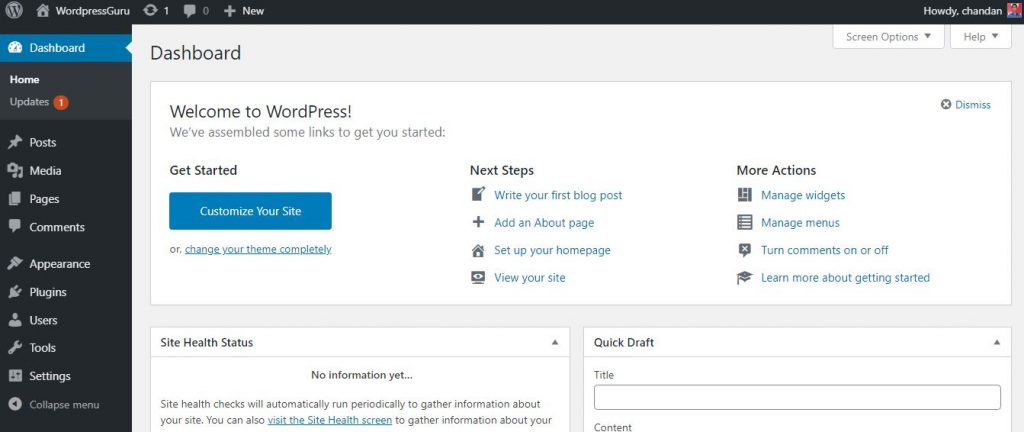
Now you can check out your site using your login and password which you setup above. your backend admin panel will look like this.
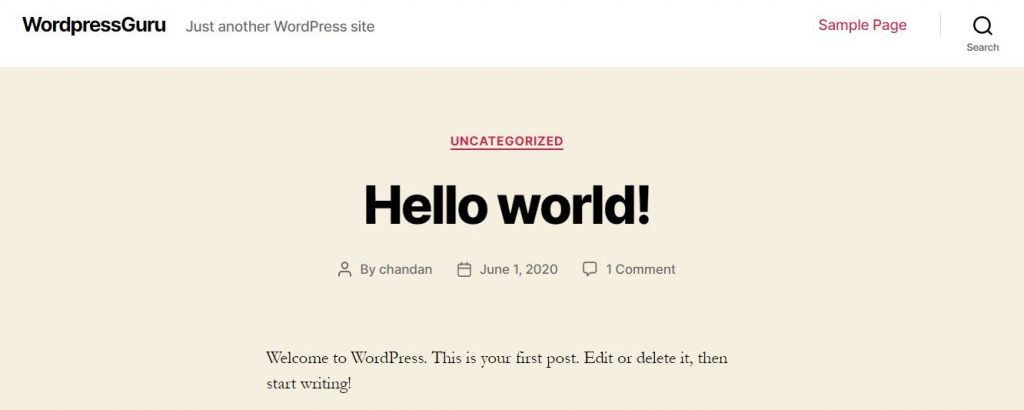
and your front-end site will look like this.
Now we will going to explain about how to create a new post, new category or installation of new Plugins.
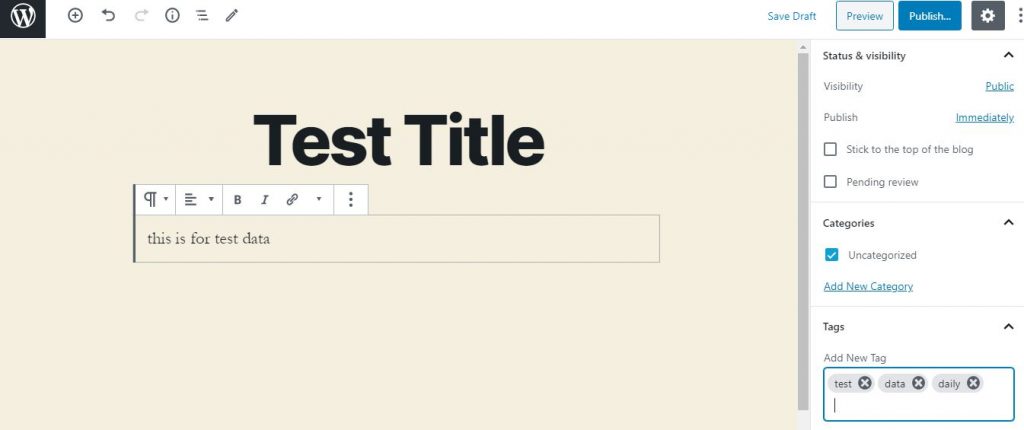
How to Write a Post in WordPress?
- Login using your gmail and password
- click on Posts Situated in Left Sidebar
- Click on Add New Button
- Type your Title and post Content
- Select your Category and add tags
- Then click on Publish button

Resources :

Be a Full Stack Developer and eager to learn new Technology.
Knowledge: CSS, Bootstrap, Javascript, PHP, WordPress, Joomla, Moodle, Laravel, AJAX, Jquery, Java, Dart, Flutter, Photoshop, CorelDraw, Pagemaker
& Office Package
- Top 10 DevOps Blogs and Websites To Follow in 2023 - December 13, 2022
- How To Set Up Apache Virtual Hosts on Ubuntu 20.04.2 LTS - October 28, 2021
- How to Fix ” Vue packages version mismatch:” error in Laravel 5.5 - April 15, 2021