Steps to install XAMPP on Ubuntu Server:
1. Login to Ubuntu machine using any ssh client (like putty) or it’s great if you have a direct access to the Ubuntu machine
2. Run the below given command:wget https://www.apachefriends.org/xampp-files/7.4.1/xampp-linux-x64-7.4.1-1-installer.run
3. Run: sudo -s
4. Run: chmod 755 xampp-linux-x64-7.4.1-1-installer.run (This will give the executable permission to the installer file that you downloaded in step 2)
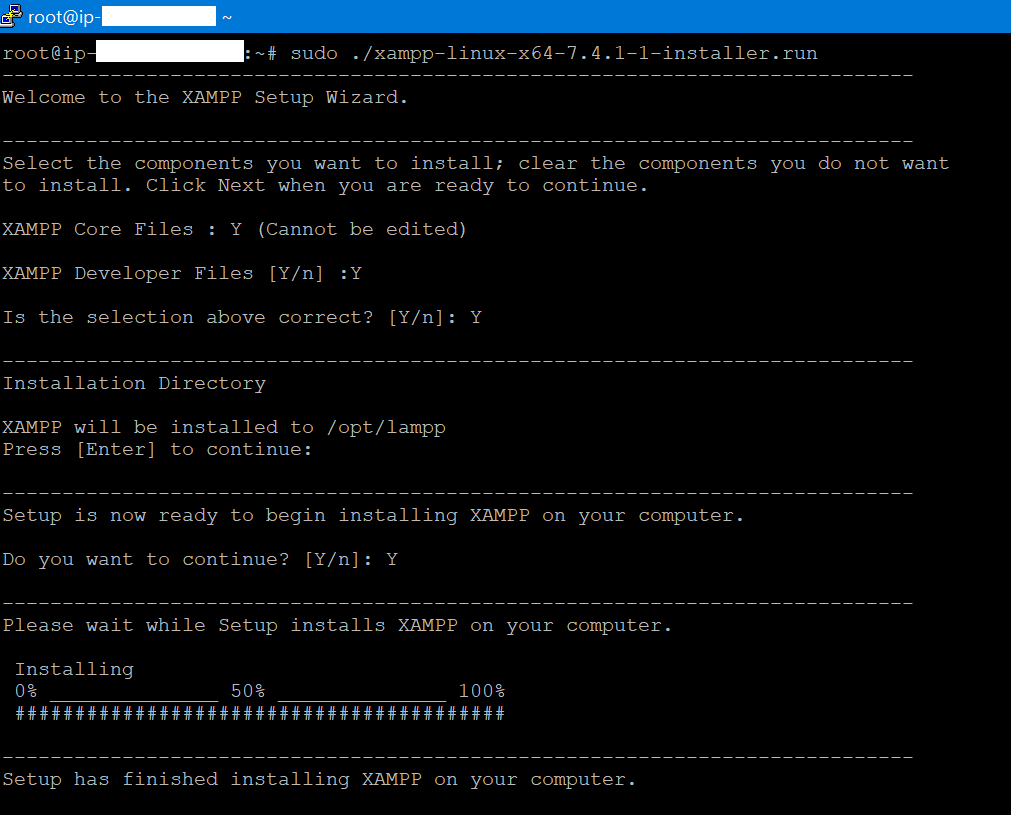
5. Run: sudo ./xampp-linux-x64-7.4.1-1-installer.run (This will start the installation)
Screen captured at the time of installation:
6. Run/ Start XAMPP server
sudo /opt/lampp/lampp start
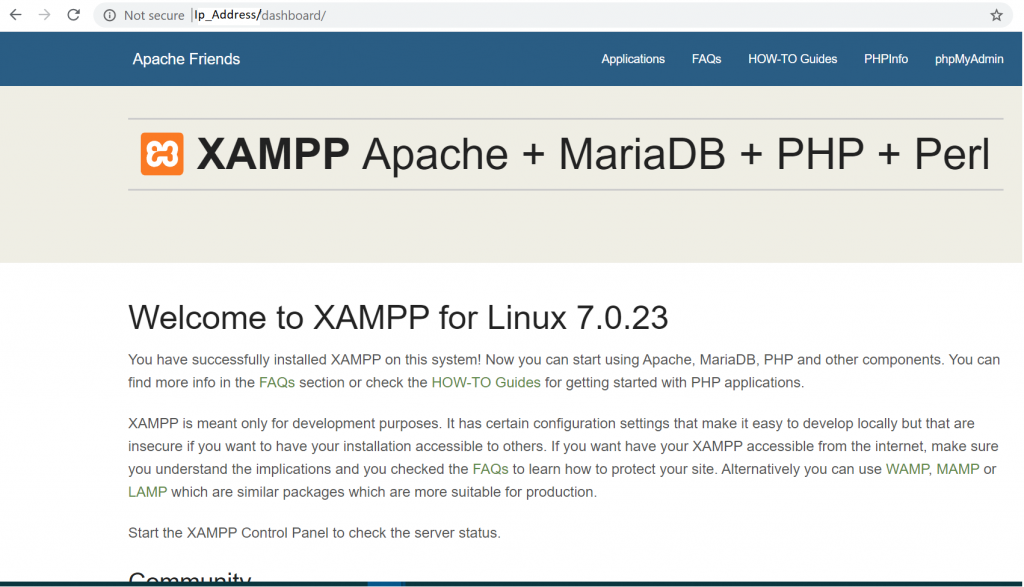
7. Now you can access the server from the browser of any machine if the IP of the Ubuntu machine is static
Screen captured while accessing the XAMPP dashboard using it’s IP addess
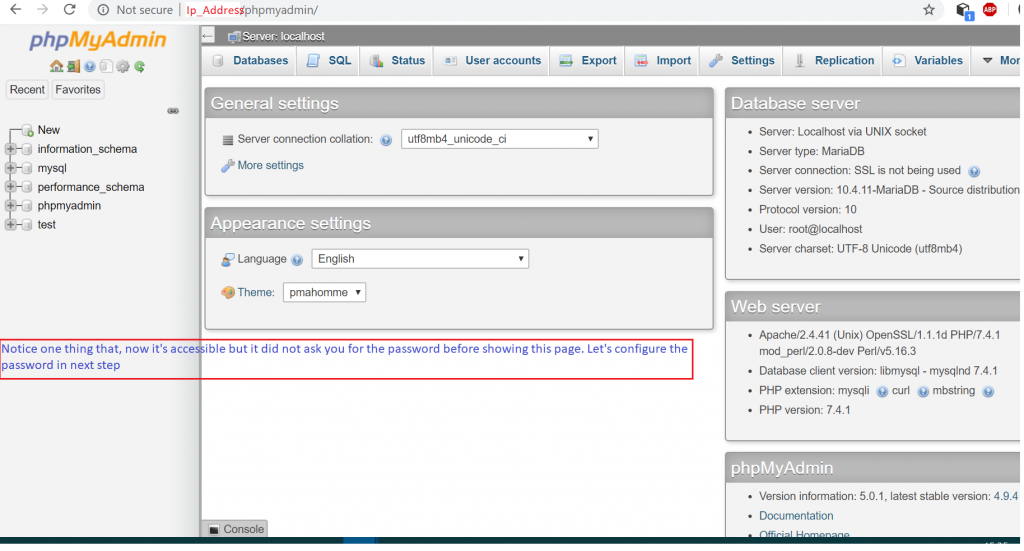
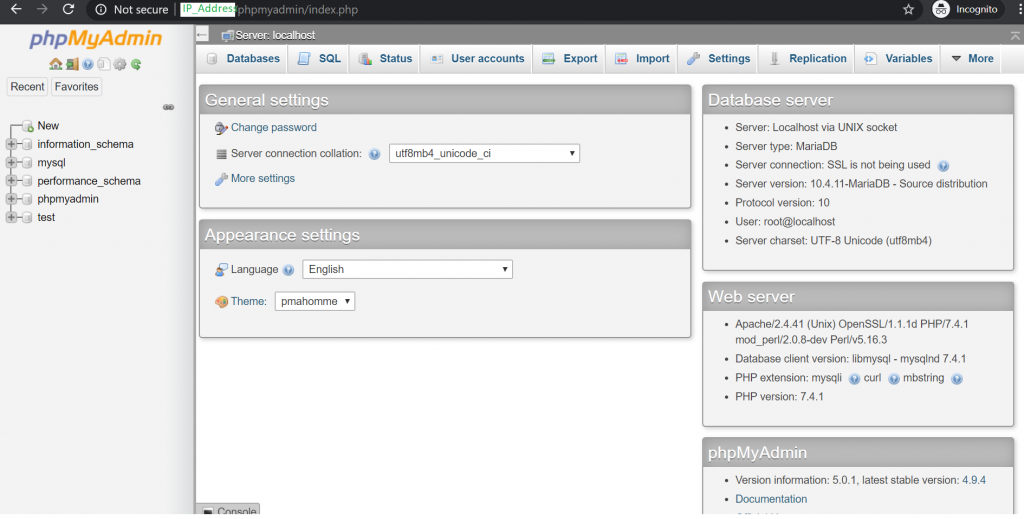
8. Let’s check the phpmyadmin console:
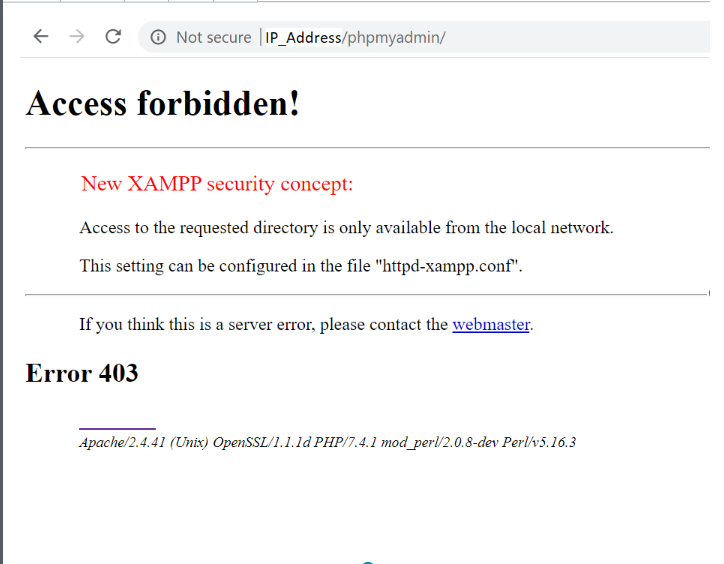
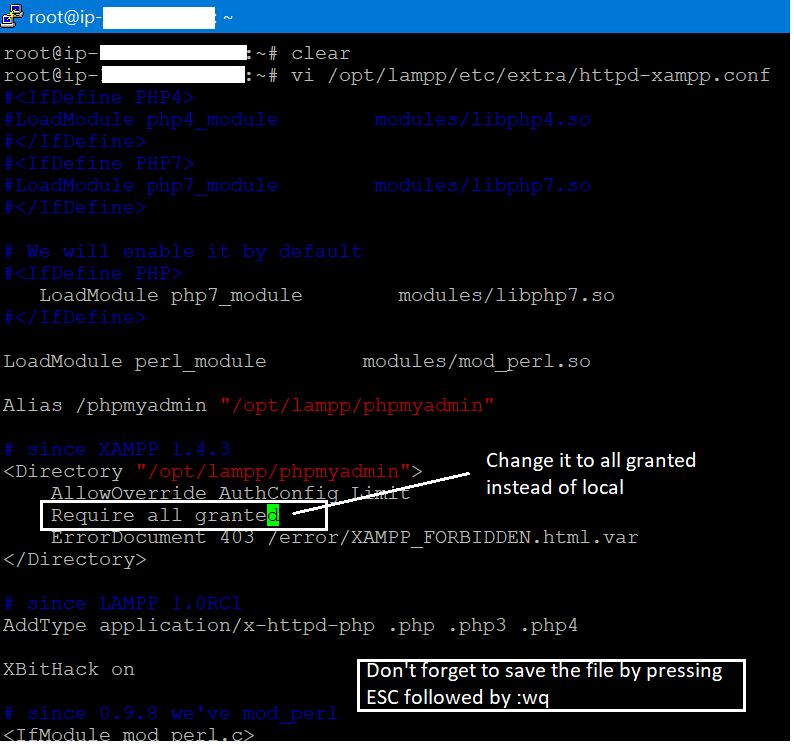
9. Let’s solve the phpmyadmin access forbidden problem now
Run vi /opt/lampp/etc/extra/httpd-xampp.conf
10. Restart XAMPP: sudo /opt/lampp/lampp restart
11. Now reload the phpmyadmin screen in the browser
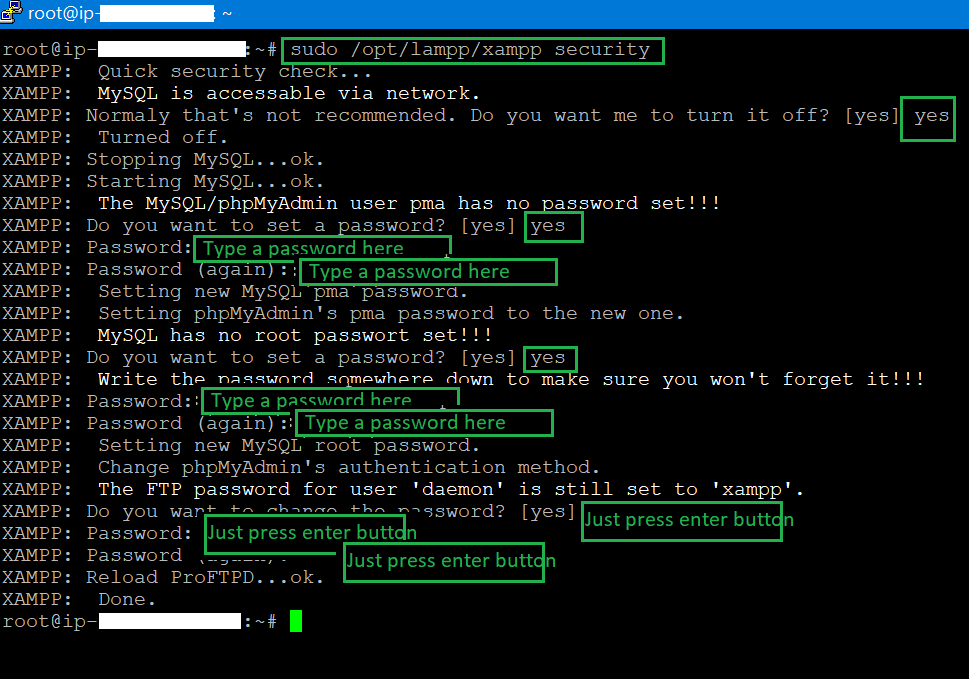
12. Run: sudo /opt/lampp/xampp security
13. Restart XAMPP: sudo /opt/lampp/lampp restart
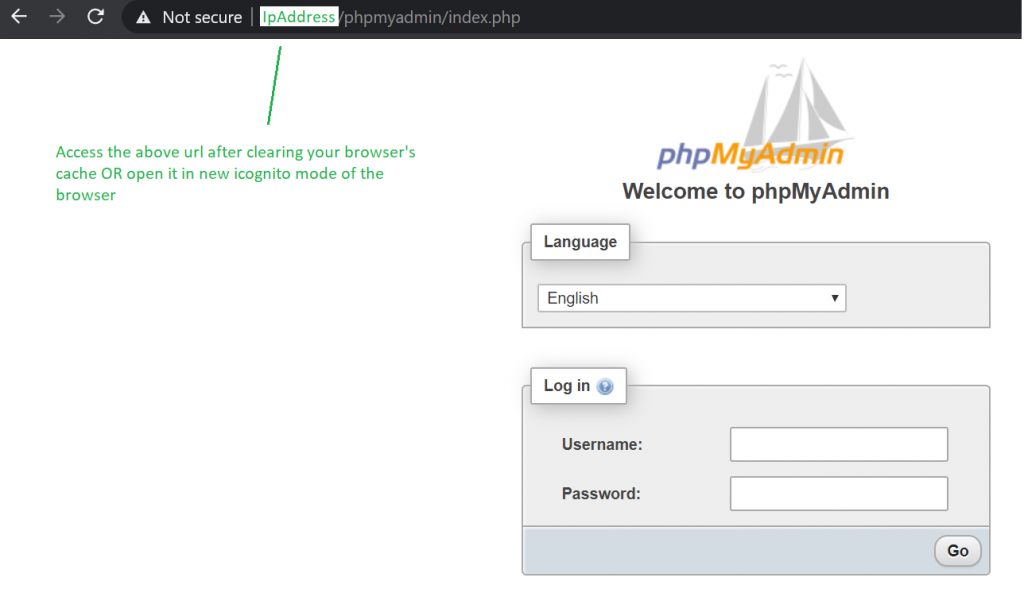
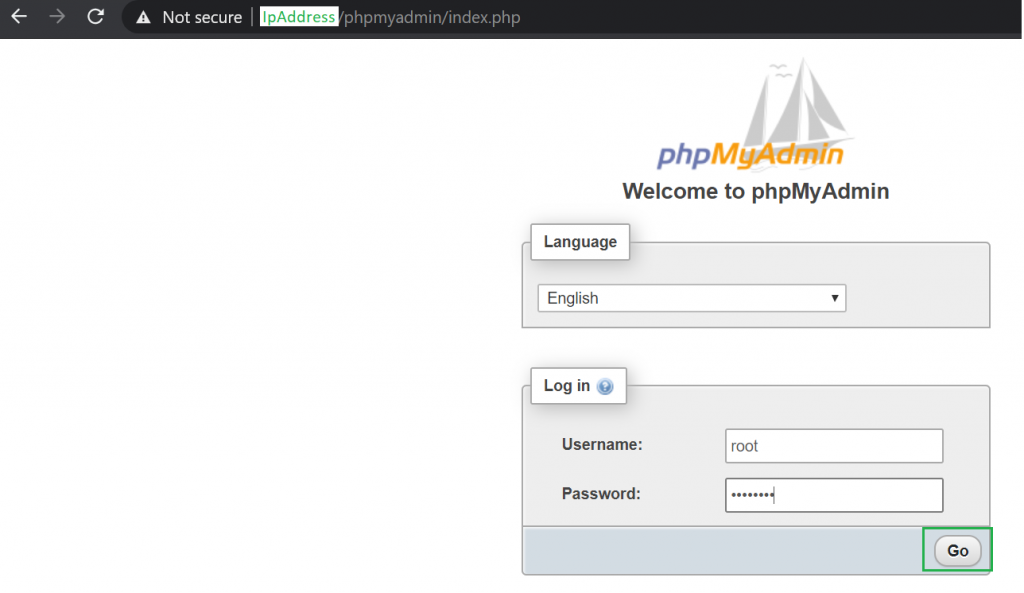
14. Let’s access phpmyadmin again and see if it is asking for the password:
Thanks for reading, I hope you enjoyed this article.
I’m a DevOps/SRE/DevSecOps/Cloud Expert passionate about sharing knowledge and experiences. I have worked at Cotocus. I share tech blog at DevOps School, travel stories at Holiday Landmark, stock market tips at Stocks Mantra, health and fitness guidance at My Medic Plus, product reviews at TrueReviewNow , and SEO strategies at Wizbrand.
Do you want to learn Quantum Computing?
Please find my social handles as below;
Rajesh Kumar Personal Website
Rajesh Kumar at YOUTUBE
Rajesh Kumar at INSTAGRAM
Rajesh Kumar at X
Rajesh Kumar at FACEBOOK
Rajesh Kumar at LINKEDIN
Rajesh Kumar at WIZBRAND
Find Trusted Cardiac Hospitals
Compare heart hospitals by city and services — all in one place.
Explore Hospitals