Objective
Create a new user in Microsoft Azure, grant access to cloud resources, and verify that the user can log in independently without sharing your administrator credentials.
Prerequisites
- An active Azure subscription.
- Access to the Azure Portal.
- Permission to create users in Microsoft Entra ID.
- Permission to assign Azure RBAC roles.
Step 1: Log in to Azure Portal
- Open https://portal.azure.com/
- Sign in with your existing administrator account.
- Confirm that you are in the correct Microsoft Entra tenant and Azure subscription.
Step 2: Create a new Azure user

- Open https://entra.microsoft.com/
- Navigate to Entra ID → Users.
- Click New user → Create new user. Do not choose Invite external user.
- Enter the following details:
- User principal name:
lab - Domain: Select your tenant domain, such as
yourtenant.onmicrosoft.com. - Display name:
Azure Lab User - Password: Set an initial password or use the generated password.
- User principal name:
- Click Create.
The user is now created inside your Microsoft Entra tenant. Record the full username and initial password securely.
Step 3: Open your Azure subscription

- Return to https://portal.azure.com/.
- Search for Subscriptions.
- Select the subscription you want to share.
- Open Access control (IAM).
If you cannot see any subscriptions, verify that you are using the correct tenant and account.
Step 4: Assign permissions to the new user
- In Access control (IAM), click Add → Add role assignment.
- Under Job function roles, search for the required role.
| Role | Access provided |
|---|---|
| Reader | View resources only |
| Contributor | Manage Azure resources, but cannot grant other users access |
| Owner | Manage resources and grant access to others |
- Select Contributor for normal cloud resource management, or Owner if full resource and access administration is required.
- Click Next.
- Under Members, click Select members.
- Search for
labor the full username. - Select the user and click Review + assign.
If Contributor and Owner are missing
Confirm that you are on the subscription’s Access control (IAM) page, with Job function roles selected. If the roles remain unavailable, check your own access permissions and any subscription restrictions. You may need an administrator with role-assignment permissions to complete this step.
Step 5: Verify the role assignment
- Return to Access control (IAM).
- Open Role assignments.
- Search for the new user.
- Verify the assigned role and scope.
The role should appear at the subscription level if you assigned it there. A role assigned only to a resource group grants access only within that scope.
Step 6: Log in as the new user

- Open a private/incognito browser window.
- Go to https://portal.azure.com/.
- Enter the new user’s full username, for example
lab@yourtenant.onmicrosoft.com. - Enter the initial password.
- Change the password if prompted and complete any required authentication steps.
Use the actual username shown on the new user’s Overview page. The example domain above is only illustrative.
Step 7: Test access
After signing in as lab:
- Search for Subscriptions.
- Open the assigned subscription.
- Navigate to a resource such as a virtual machine or storage account.
- Confirm that the user can perform actions permitted by the assigned role.
If the subscription is missing, verify the selected directory from the account menu and confirm that the role assignment succeeded.
Step 8: Security best practices
- Never share your own administrator password.
- Give the new user only the permissions they need.
- Enable multifactor authentication where appropriate.
- Store initial passwords securely and require a password change.
- Use the Owner role sparingly.
Final checklist
Setup progress
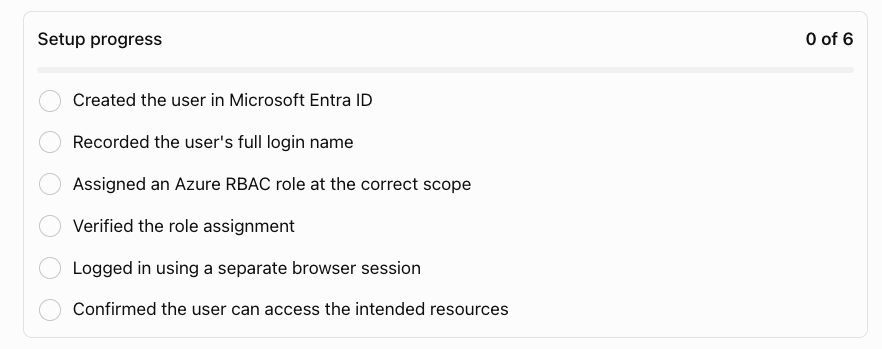
Created the user in Microsoft Entra IDRecorded the user’s full login nameAssigned an Azure RBAC role at the correct scopeVerified the role assignmentLogged in using a separate browser sessionConfirmed the user can access the intended resources
Expected result: The new user can sign in independently to the Azure Portal and manage only the resources permitted by the assigned role.
Official references: Create users in Microsoft Entra ID · Assign Azure roles using the Azure Portal

