URL – https://about.gitlab.com/install/
Step 1 – Install and configure the necessary dependencies
On CentOS 7 (and RedHat/Oracle/Scientific Linux 7), the commands below will also open HTTP, HTTPS and SSH access in the system firewall. This is an optional step, and you can skip it if you intend to access GitLab only from your local network.

$ sudo yum install -y curl policycoreutils-python openssh-server perl
# Enable OpenSSH server daemon if not enabled: sudo systemctl status sshd
$ sudo systemctl enable sshd
$ sudo systemctl start sshd
# Check if opening the firewall is needed with: sudo systemctl status firewalld
$ sudo firewall-cmd --permanent --add-service=http
$ sudo firewall-cmd --permanent --add-service=https
$ sudo systemctl reload firewalld

Next, install Postfix to send notification emails. If you want to use another solution to send emails please skip this step and configure an external SMTP server after GitLab has been installed.

$ sudo yum install postfix
$ sudo systemctl enable postfix
$ sudo systemctl start postfix

During Postfix installation a configuration screen may appear. Select 'Internet Site' and press enter. Use your server's external DNS for 'mail name' and press enter. If additional screens appear, continue to press enter to accept the defaults.Code language: PHP (php)
Step 2 – Add the GitLab package repository and install the package
$ curl https://packages.gitlab.com/install/repositories/gitlab/gitlab-ee/script.rpm.sh | sudo bash

Next, install the GitLab package. Make sure you have correctly set up your DNS, and change https://gitlab.example.com to the URL at which you want to access your GitLab instance. Installation will automatically configure and start GitLab at that URL.

For https:// URLs, GitLab will automatically request a certificate with Let's Encrypt, which requires inbound HTTP access and a valid hostname. You can also use your own certificate or just use http:// (without the s).

If you would like to specify a custom password for the initial administrator user ( root ), check the documentation. If a password is not specified, a random password will be automatically generated.

$ sudo EXTERNAL_URL="https://gitlab.devopsschool.com" yum install -y gitlab-ee
Code language: PHP (php)
Step 3 – Browse to the hostname and login
Unless you provided a custom password during installation, a password will be randomly generated and stored for 24 hours in /etc/gitlab/initial_root_password. Use this password with username root to login.
Code language: JavaScript (javascript)
Step 4 – Verify
$ gitlab-ctl status
run: crond: (pid 3333) 407s; run: log: (pid 3358) 404s
run: gitaly: (pid 3908) 250s; run: log: (pid 2951) 473s
run: gitlab-kas: (pid 3870) 254s; run: log: (pid 3264) 450s
run: gitlab-workhorse: (pid 3878) 254s; run: log: (pid 3466) 380s
run: logrotate: (pid 2848) 487s; run: log: (pid 2856) 486s
run: nginx: (pid 3598) 346s; run: log: (pid 3495) 375s
run: postgresql: (pid 3094) 464s; run: log: (pid 3116) 461s
run: puma: (pid 3361) 401s; run: log: (pid 3369) 397s
run: redis: (pid 2889) 481s; run: log: (pid 2897) 480s
run: registry: (pid 3891) 253s; run: log: (pid 3594) 347s
run: sidekiq: (pid 3390) 390s; run: log: (pid 3410) 386s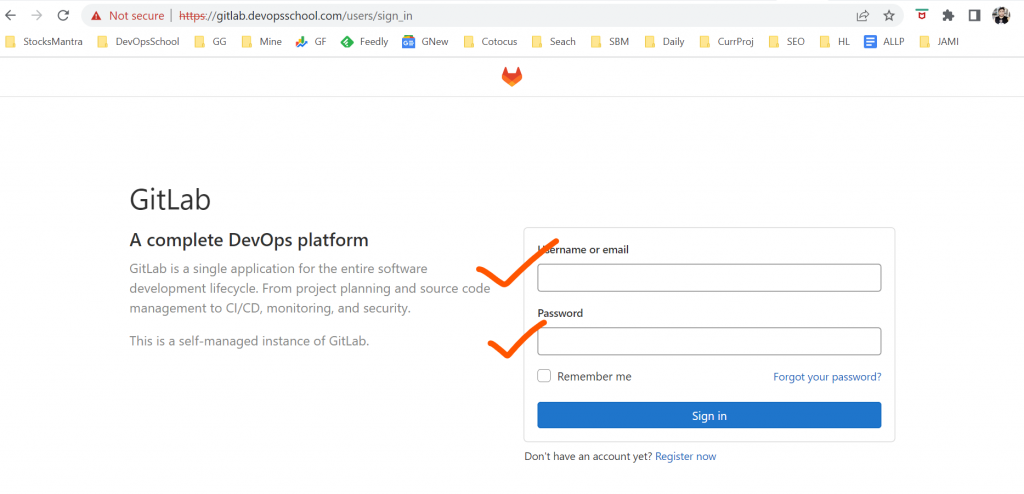
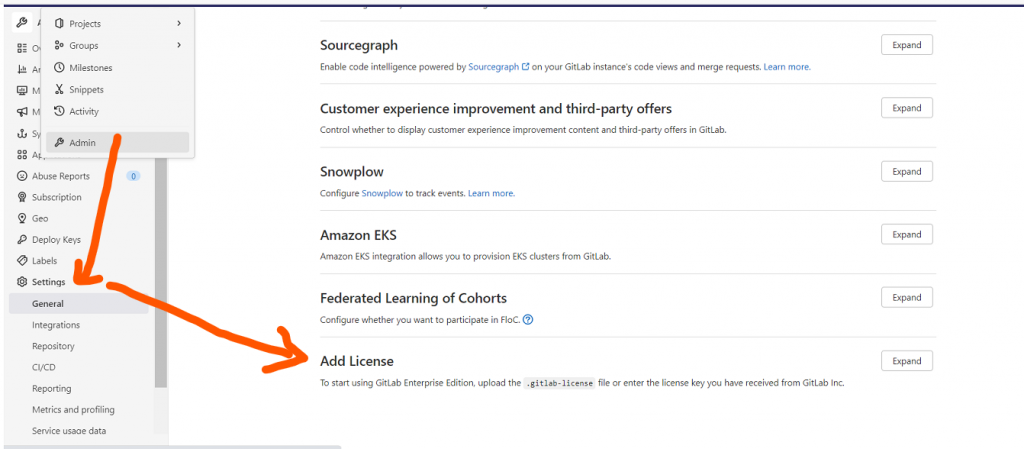
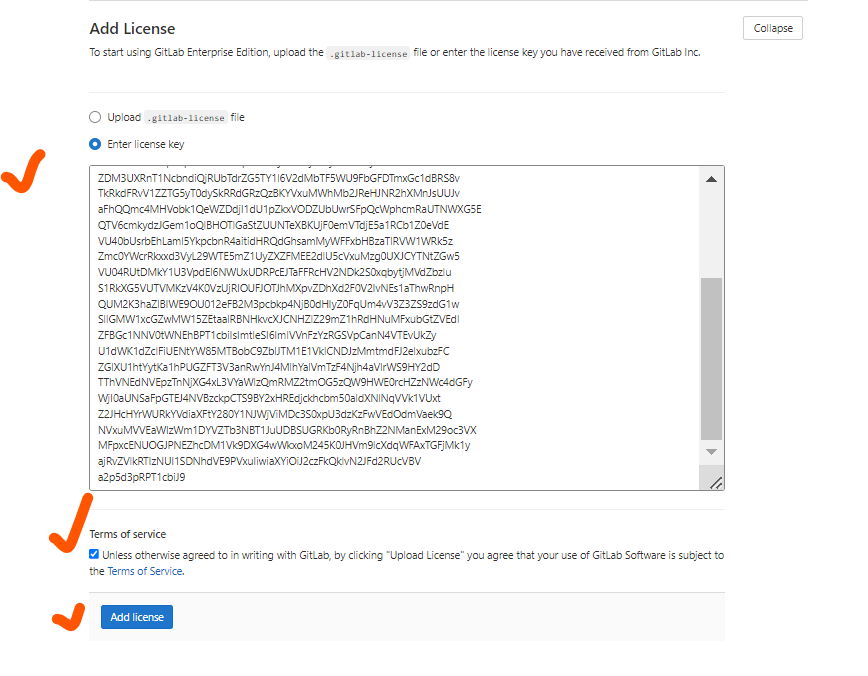
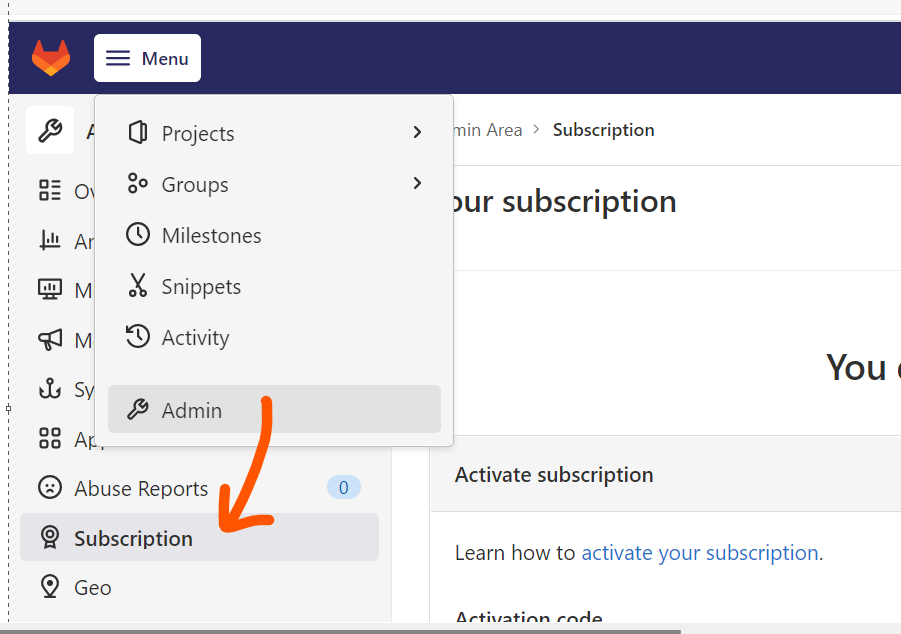
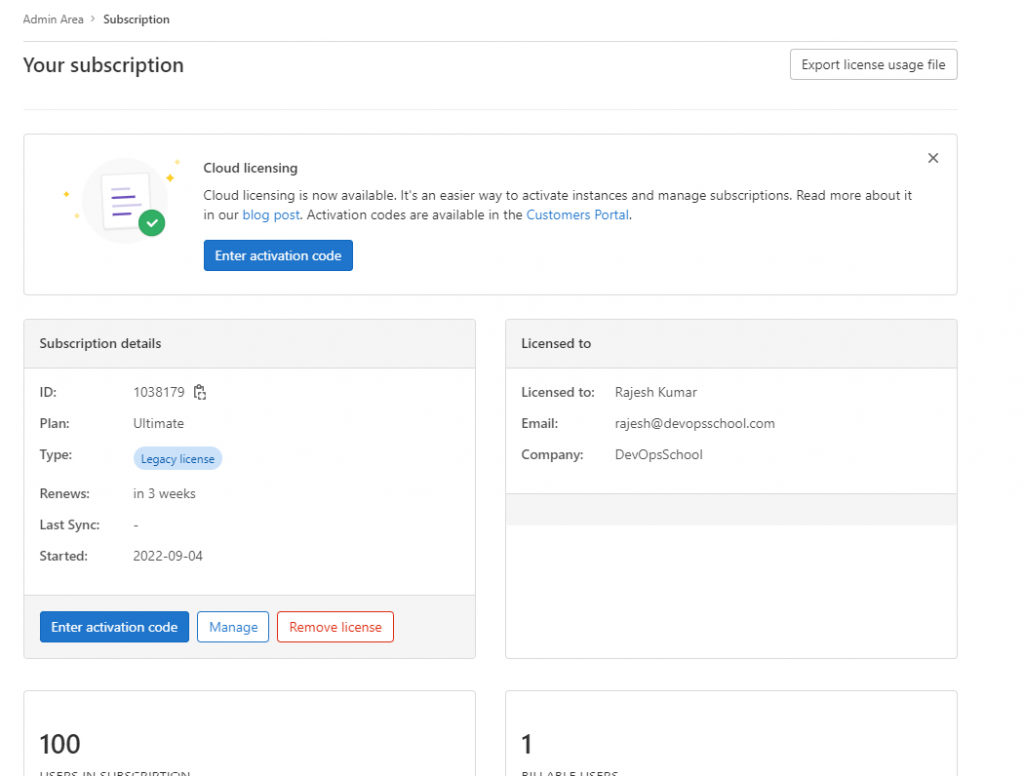
Step 5 – Activate EE license
I’m Rajesh Kumar, a DevOps, SRE, DevSecOps, Cloud, and Platform Engineering expert passionate about sharing practical knowledge, real-world experiences, and industry best practices. I have worked at Cotocus and regularly write about technology, travel, investing, health, product reviews, and digital marketing through my various platforms.
I publish technical articles at DevOps School, travel stories at Holiday Landmark, stock market insights at Stocks Mantra, health and fitness guidance at My Medic Plus, product reviews at TrueReviewNow, and SEO and digital marketing strategies at Wizbrand.
Find Trusted Cardiac Hospitals
Compare heart hospitals by city and services — all in one place.
Explore Hospitals