Windows 10 Update is essential for any users to work smoothly on his system. you can turn off this feature in 3 ways. But in my opinion, you should not stop the windows update. I realize that after two to three updates. It goes to a stable position. After that if you want to stop the update you can follow below steps :
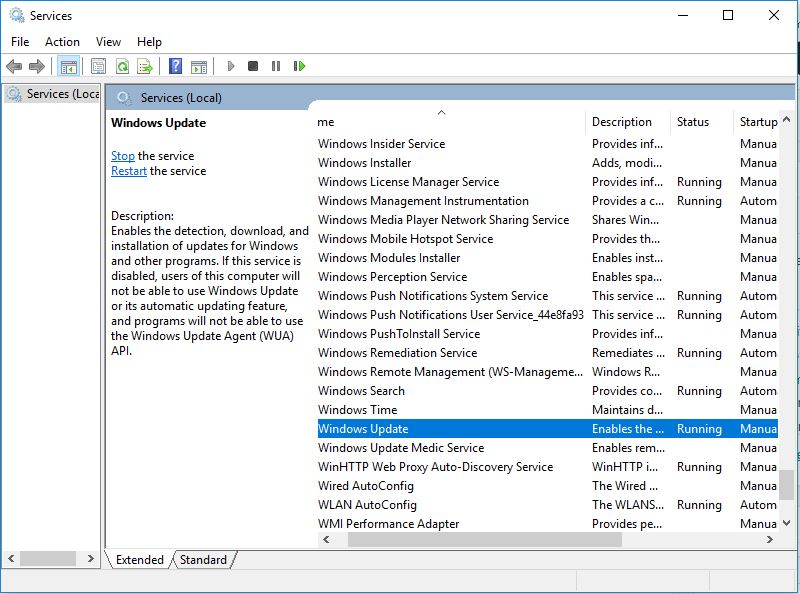
Option 1: Windows Update Service
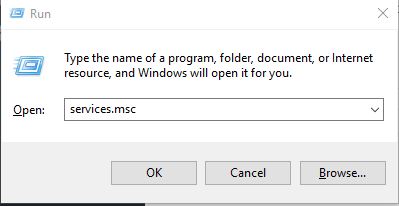
- Press Window + R (Run Command), Type services.msc and press Enter
- Then Find Windows Update in services list and open it
- In ‘General Tab’ find Startup type and change it to Disabled
- Then Restart Your System.
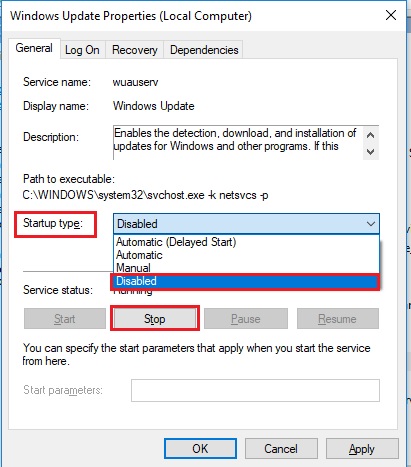
To Enable Windows update simply follow above steps and change Startup type to ‘Automatic’.
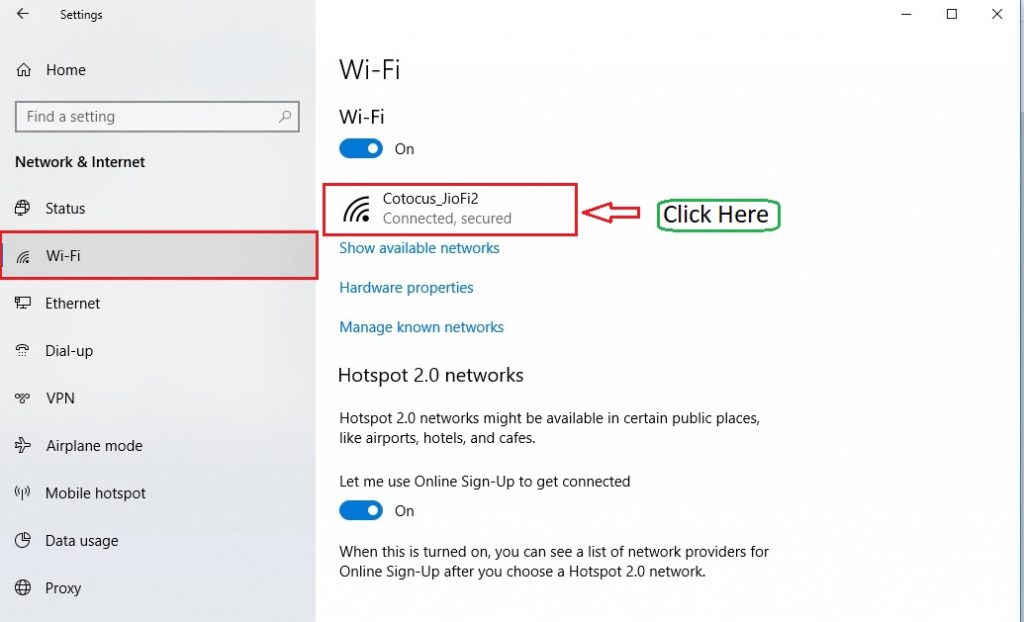
Option 2: Setup a Metered Connection
If you are using wifi connection then you can set it to Metered Connection to stop some updates to your system.
- Open the setting App (Press Window + I)
- Open “Network & Internet”
- Open “Wi-Fi” and click on “Wifi Name”
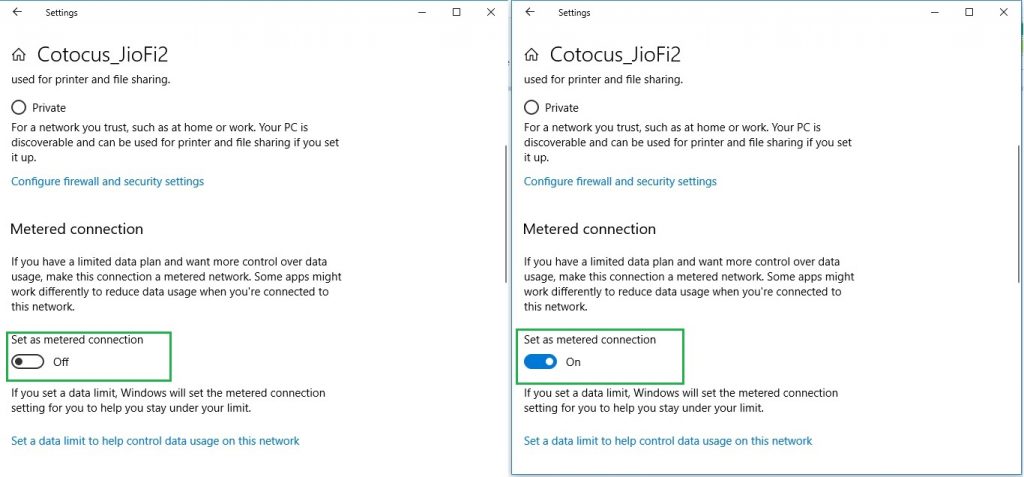
- Find “Set as metered connection” to On
Note: If Your PC connected through Lan Cable then Metered Connection option is disabled. This option will work only with Wi-Fi Connection.

Option 3: Group Policy Editor
The group policy editor will help you to notify the latest update before it updates automatically.
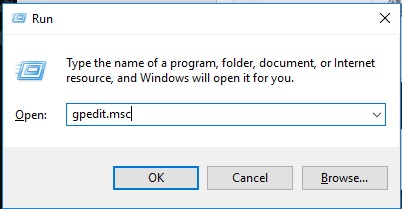
- Open Run command (Press Window + R)
- Type gpedit.msc and press Enter
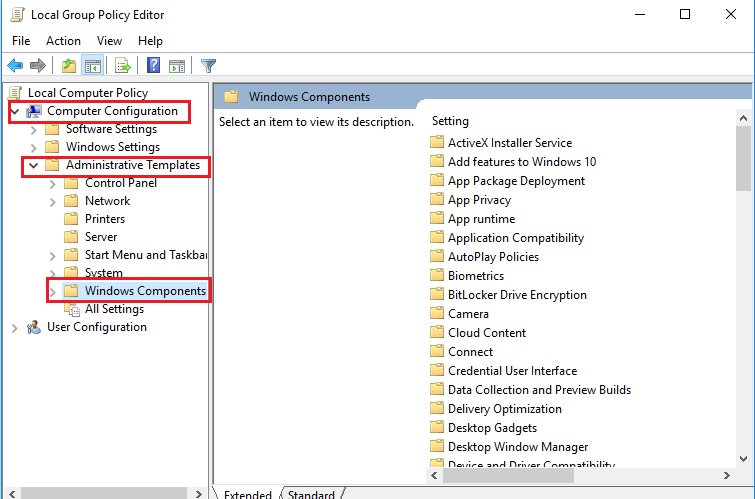
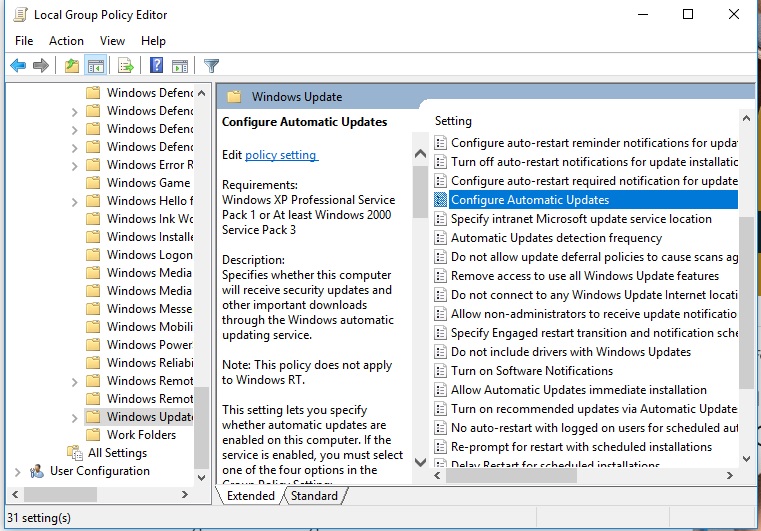
- Click on Computer Configuration ⇨ Administrative Templates ⇨ Windows Components ⇨ Windows Update
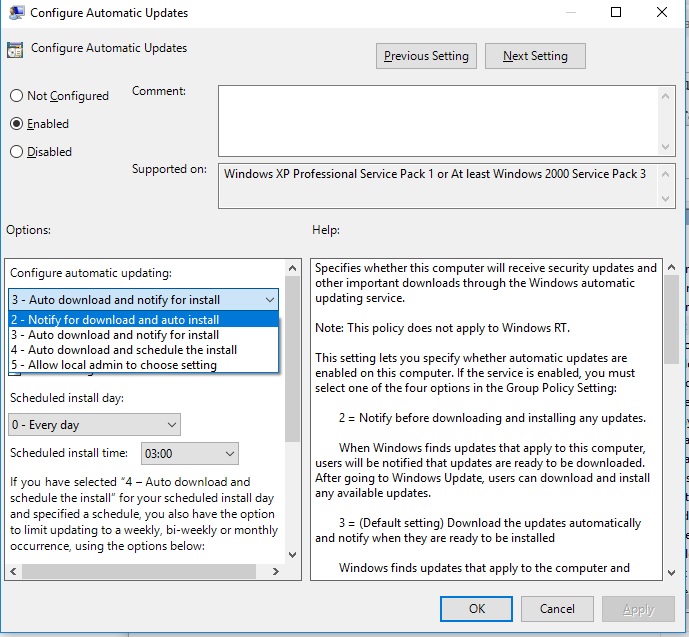
- Open Configure Automatic Updates and change settings to “2 – Notify for download and auto install“
- Then Click on Apply and Ok
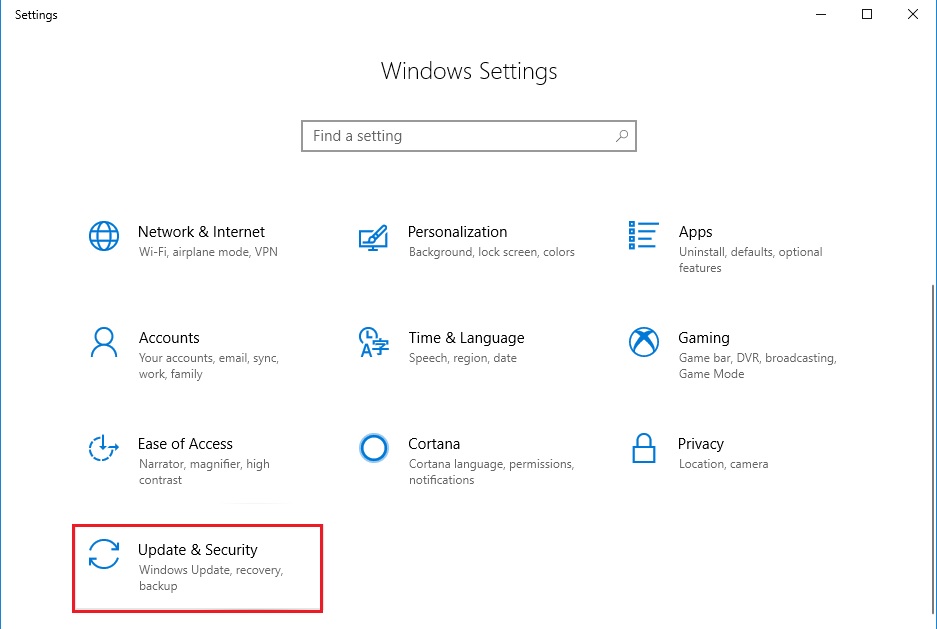
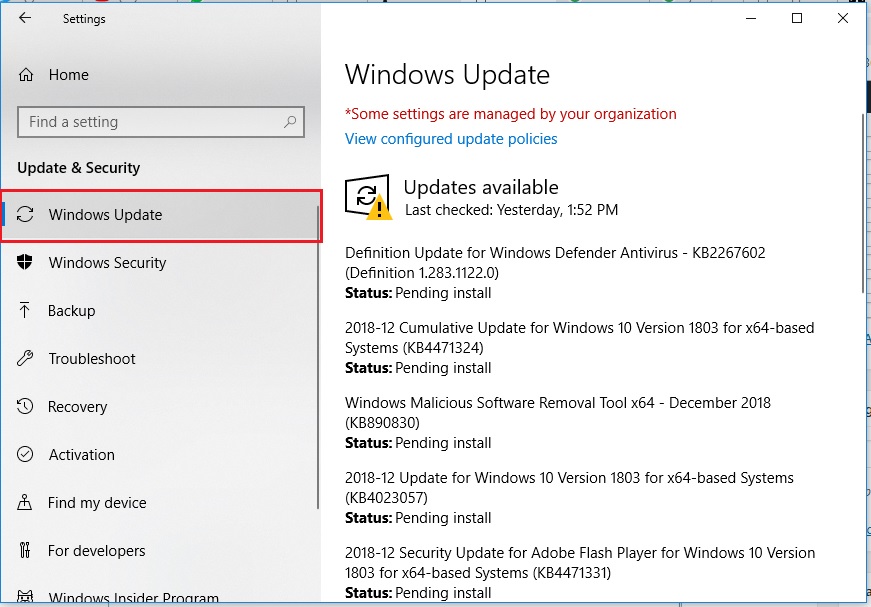
- Open the Setting App (Window + I) and select Update & Security ⇨ Windows Update
- Then Click “Check for Updates” Which apply the new configuration settings
- Then Restart your System
MotoShare.in provides the perfect two-wheeler for every occasion—daily commuting, weekend escapes, tourist exploration, or test-riding your dream bike. Simplify your mobility with us!
Find Trusted Cardiac Hospitals
Compare heart hospitals by city and services — all in one place.
Explore Hospitals