Laravel passport
Laravel Passport is an OAuth2 server and API authentication package that is simple and enjoyable to use. We will use laravel passport to authenticate token-based request except for session
You have to just follow a few steps to get following web services:
- Login API
- Register API
- Details API
Step 1 – First Create a Project
$ composer create-project --prefer-dist laravel/laravel RestAPI "5.8.*"
Code language: JavaScript (javascript)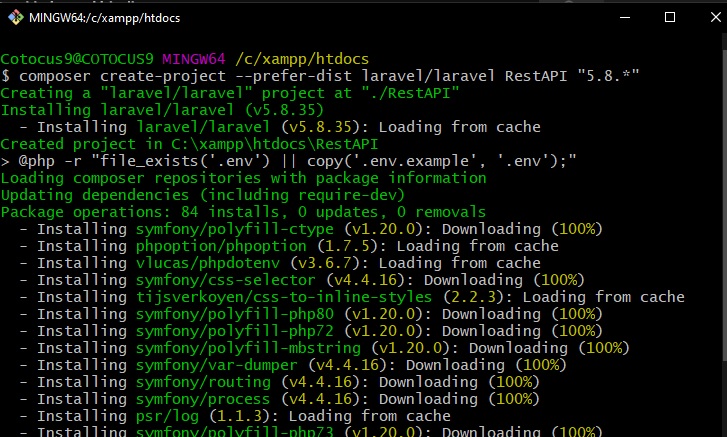
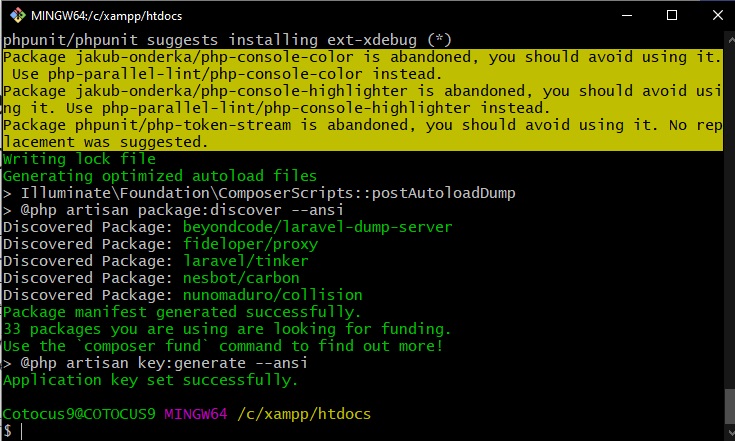
Step 2 – Install Package
There are two ways to install package:
- Write the following command given below
composer require laravel/passportCode language: JavaScript (javascript)2. Update the composer and check your composer.json file
composer update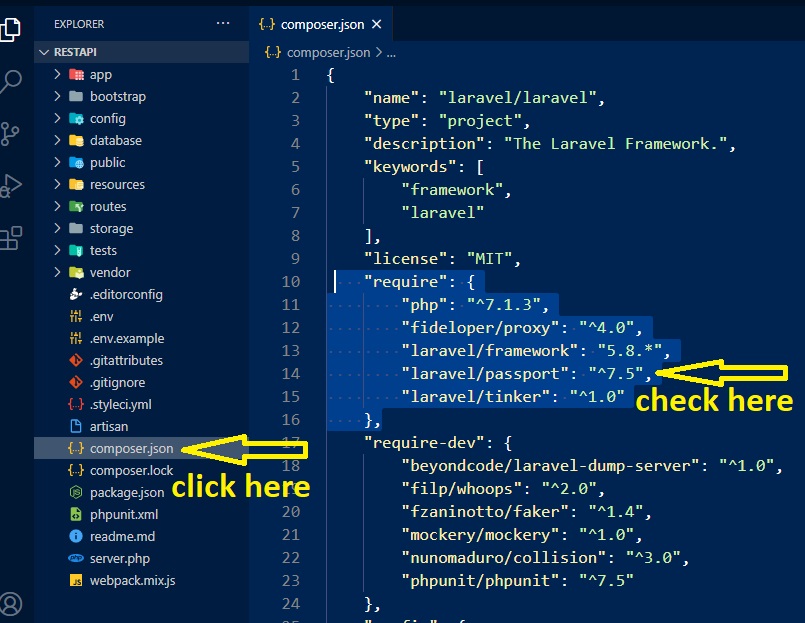
Step 3 – Open config/app.php file and add service provider

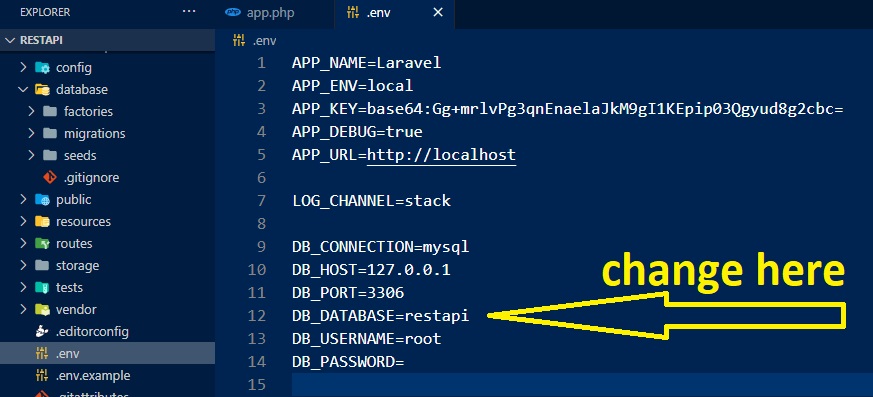
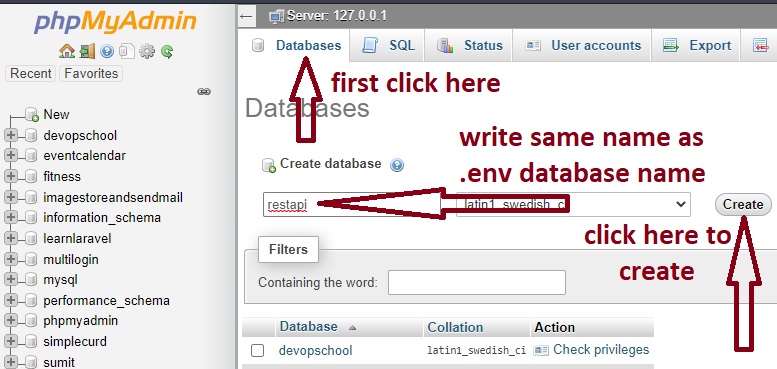
Step 4 – Update database name (.env file)
Step 5 – Open phpMyAdmin and create databse
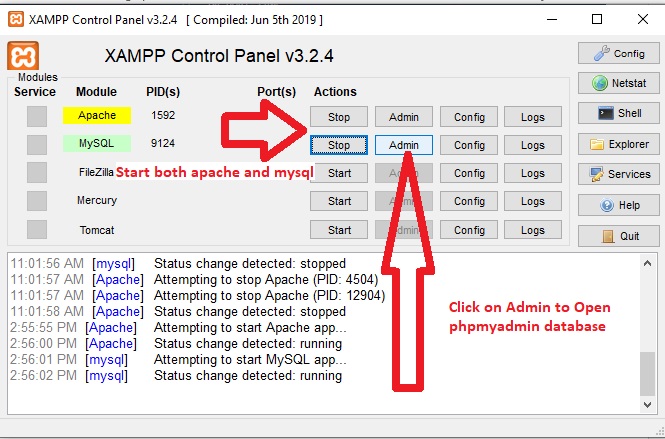
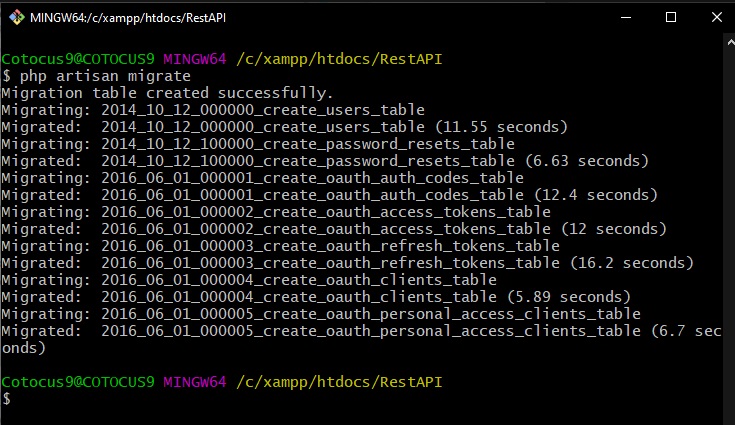
Step 5 – Run Migration and Install
php artisan migrate
php artisan passport:installCode language: CSS (css)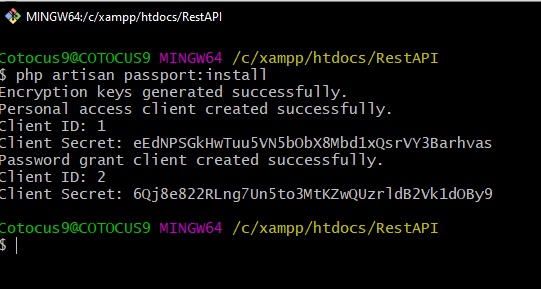
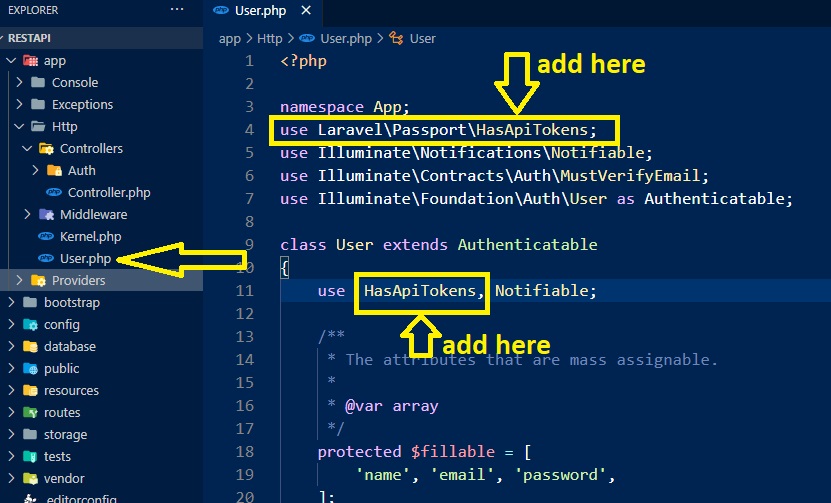
Step – 6 Modify User.php
Go to app–>http–>User.php
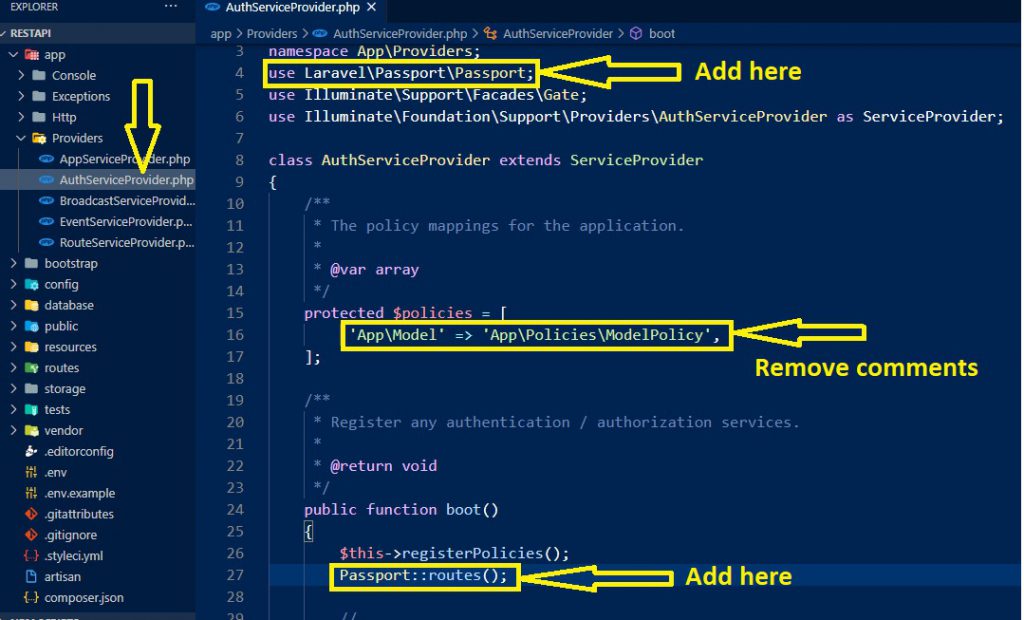
Step – 7 Modify app/Providers/AuthServiceProvider.php
Step 8 – Modify config/auth.php
Step -9 Create API Route
Go to routes–>api.php
Step 10 – Create The Controller
 php artisan make:controller UserController
Code language: CSS (css)
Step 11 – Open UserController
- We create an API folder inside the Controllers folder
- After Creating, we Move UserController.php to API folder
Go and Run the server inside RestAPI folder, code is given below-
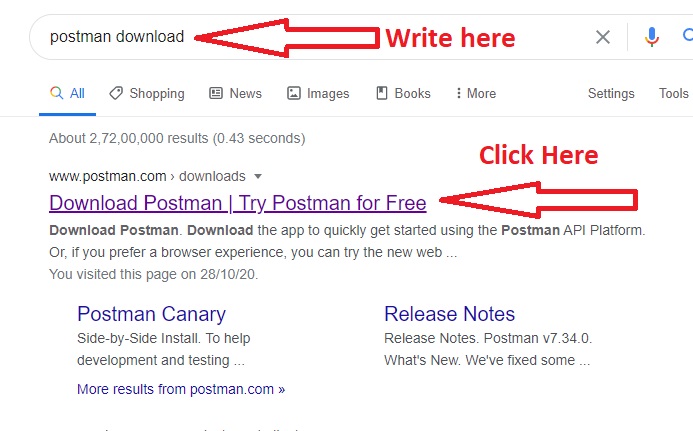
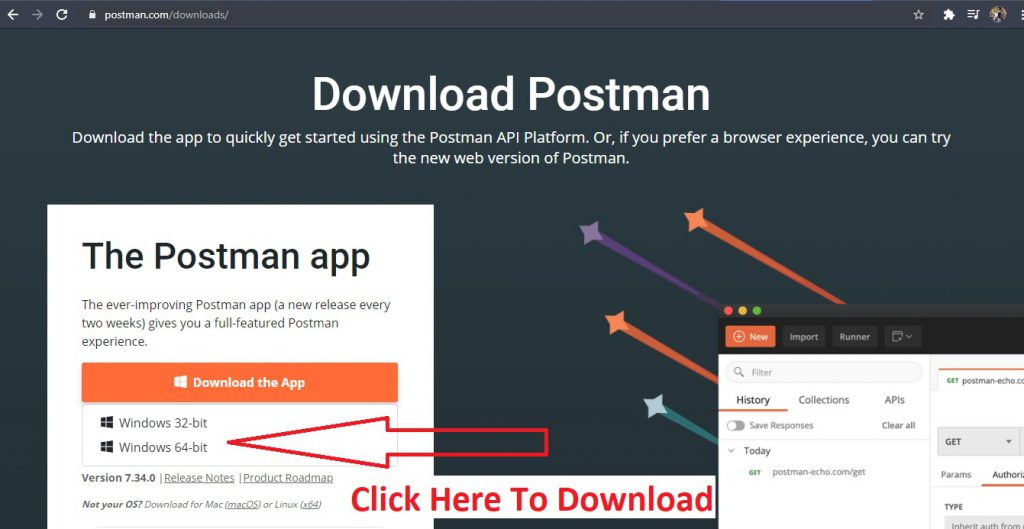
$php artisan serveCode language: PHP (php)Step – 12 Download the app to quickly get started using the Postman API Platform.
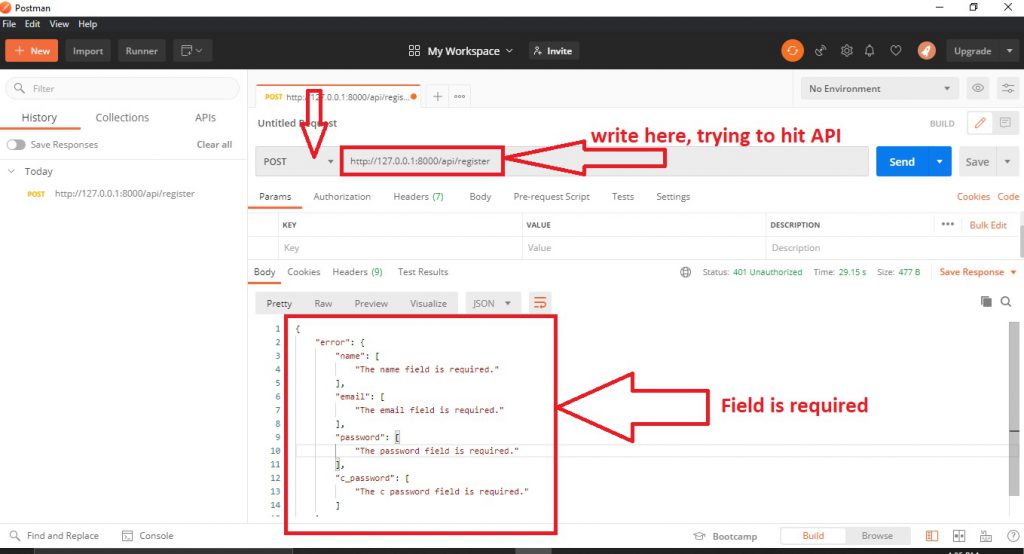
Step – 13 After Installing, Open and Hit the API
We have to write key-value pair to store data in database. Given Below
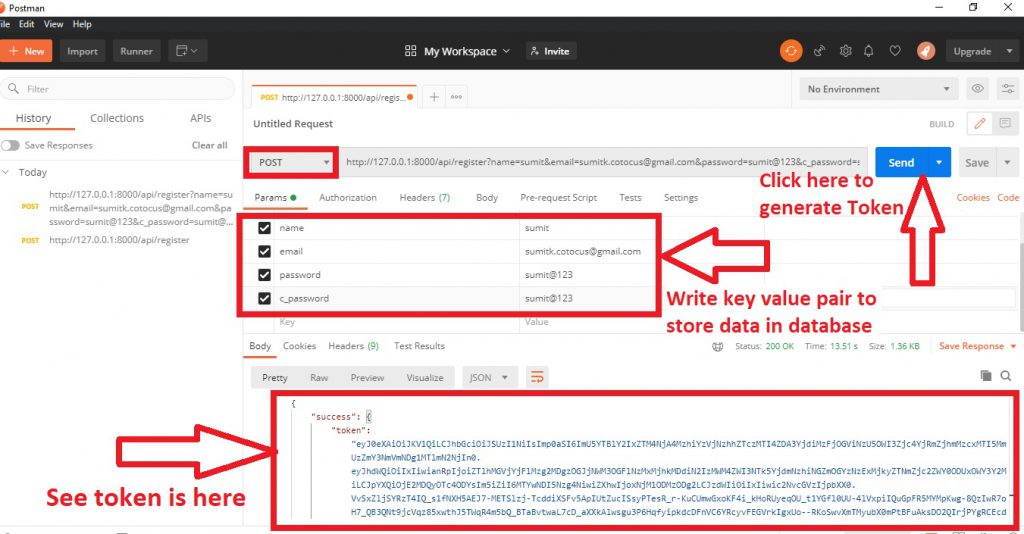
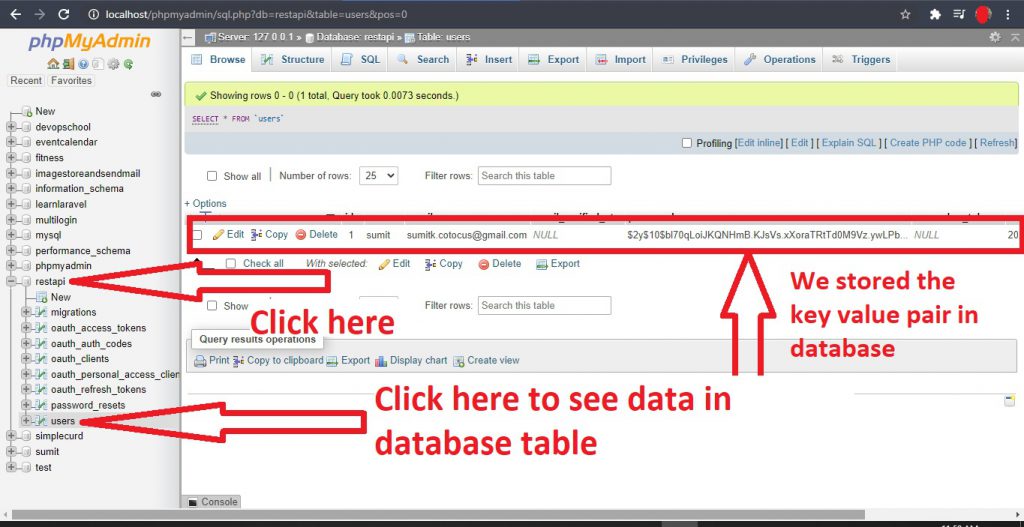
Now, Token is generated in the above image by hitting the send button. After hitting the send button the key-value pair is stored in the database. Let’s go and open phpMyAdmin given below.
I’m Rajesh Kumar, a DevOps, SRE, DevSecOps, Cloud, and Platform Engineering expert passionate about sharing practical knowledge, real-world experiences, and industry best practices. I have worked at Cotocus and regularly write about technology, travel, investing, health, product reviews, and digital marketing through my various platforms.
I publish technical articles at DevOps School, travel stories at Holiday Landmark, stock market insights at Stocks Mantra, health and fitness guidance at My Medic Plus, product reviews at TrueReviewNow, and SEO and digital marketing strategies at Wizbrand.
Find Trusted Cardiac Hospitals
Compare heart hospitals by city and services — all in one place.
Explore Hospitals