Platform & Compoenent
Ubuntu Version: 20:04
Zabbix Version: 6.0 LTS
Database: MySQL
Web Server: Apache
Prerequisite
Step 1 – Install Zabbix repository
# sudo -s [ Become a root user ]
# wget https://repo.zabbix.com/zabbix/6.0/ubuntu/pool/main/z/zabbix-release/zabbix-release_6.0-1+ubuntu20.04_all.deb
# dpkg -i zabbix-release_6.0-1+ubuntu20.04_all.deb
# apt updateCode language: PHP (php)
Step 2 – Install Zabbix server, frontend, agent
# apt install zabbix-server-mysql zabbix-frontend-php zabbix-apache-conf zabbix-sql-scripts zabbix-agentCode language: PHP (php)Step 3 – Create initial database
Make sure you have database server up and running.
Run the following on your database host.
# mysql -uroot -p
password
mysql> create database zabbix character set utf8mb4 collate utf8mb4_bin;
mysql> create user zabbix@localhost identified by 'DevOpsSchool$123';
mysql> grant all privileges on zabbix.* to zabbix@localhost;
mysql> GRANT SUPER ON *.* TO 'zabbix'@'localhost';
mysql> FLUSH PRIVILEGES;
mysql> quit;Code language: PHP (php)
On Zabbix server host import initial schema and data. You will be prompted to enter your newly created password.
$ ls /usr/share/doc/zabbix-sql-scripts/mysql/server.sql.gz
$  zcat /usr/share/doc/zabbix-sql-scripts/mysql/server.sql.gz | mysql -uzabbix -p zabbix

# Alternate location
/usr/share/zabbix-sql-scripts/mysql
$ ls /usr/share/zabbix-sql-scripts/mysql/server.sql.gz
$  zcat /usr/share/zabbix-sql-scripts/mysql/server.sql.gz | mysql -uzabbix -p zabbixCode language: PHP (php)
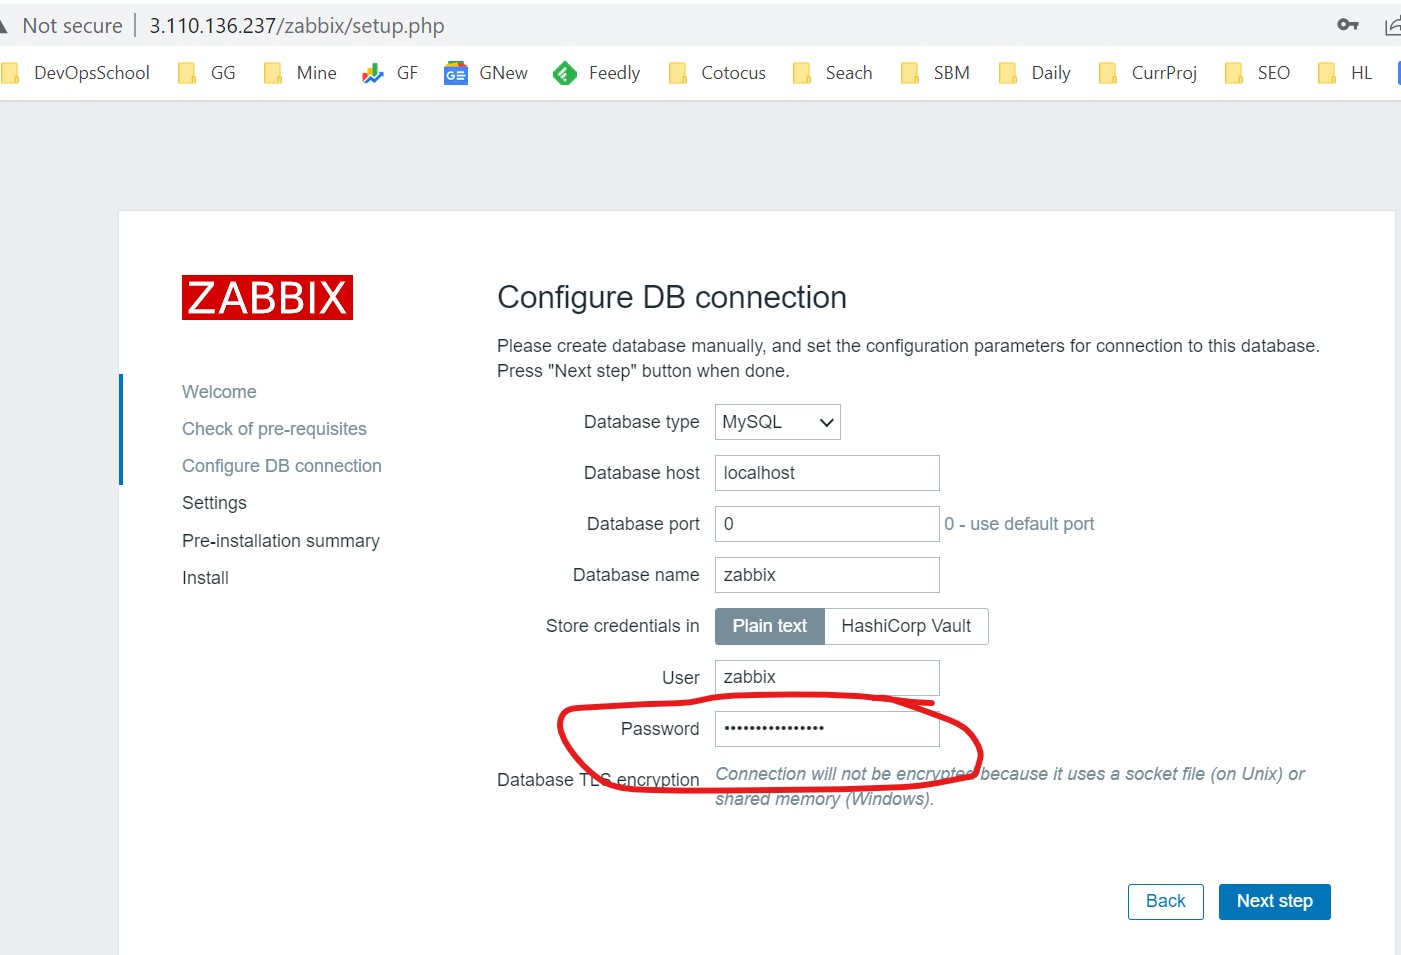
Step 4 – Configure the database for Zabbix server
Edit file /etc/zabbix/zabbix_server.conf
DBPassword=DevOpsSchool$123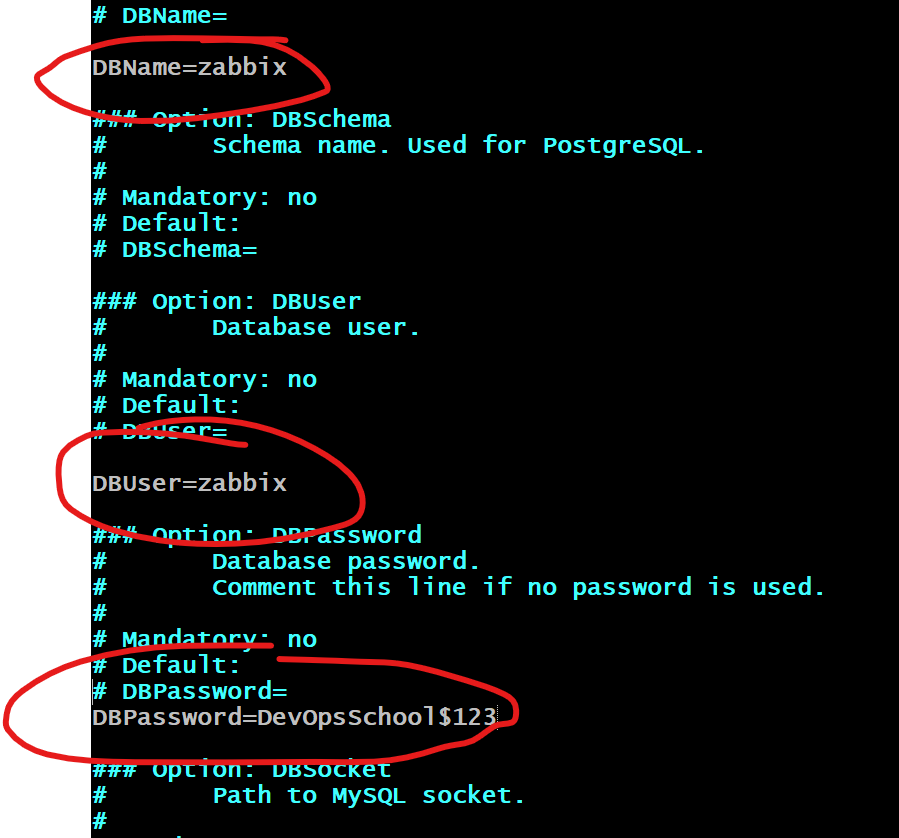
Step 5 – Start Zabbix server and agent processes
Start Zabbix server and agent processes and make it start at system boot.
# systemctl restart zabbix-server zabbix-agent apache2
# systemctl enable zabbix-server zabbix-agent apache2
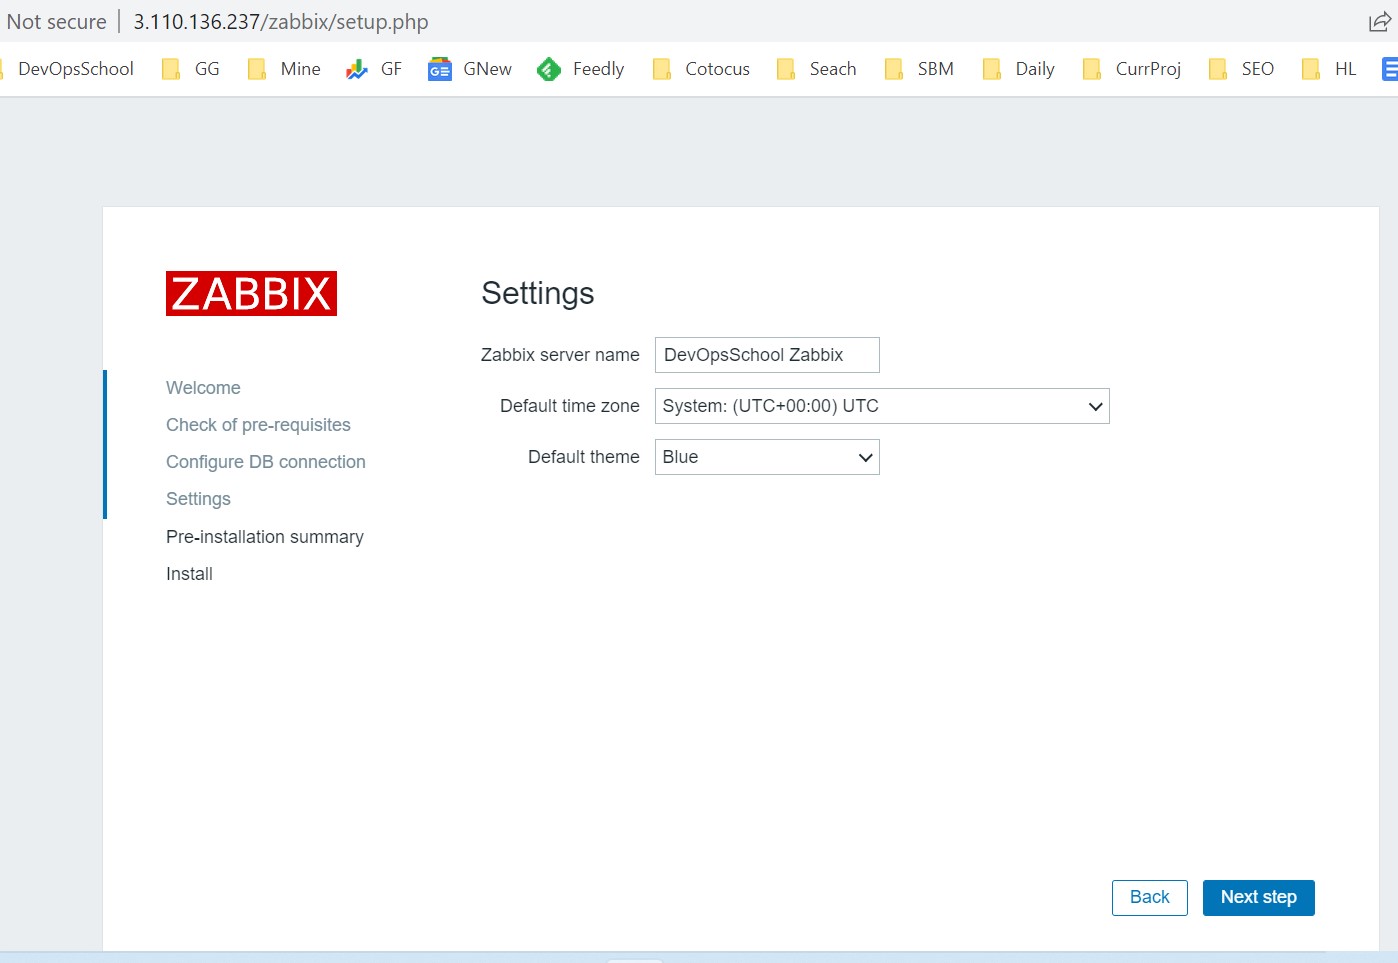
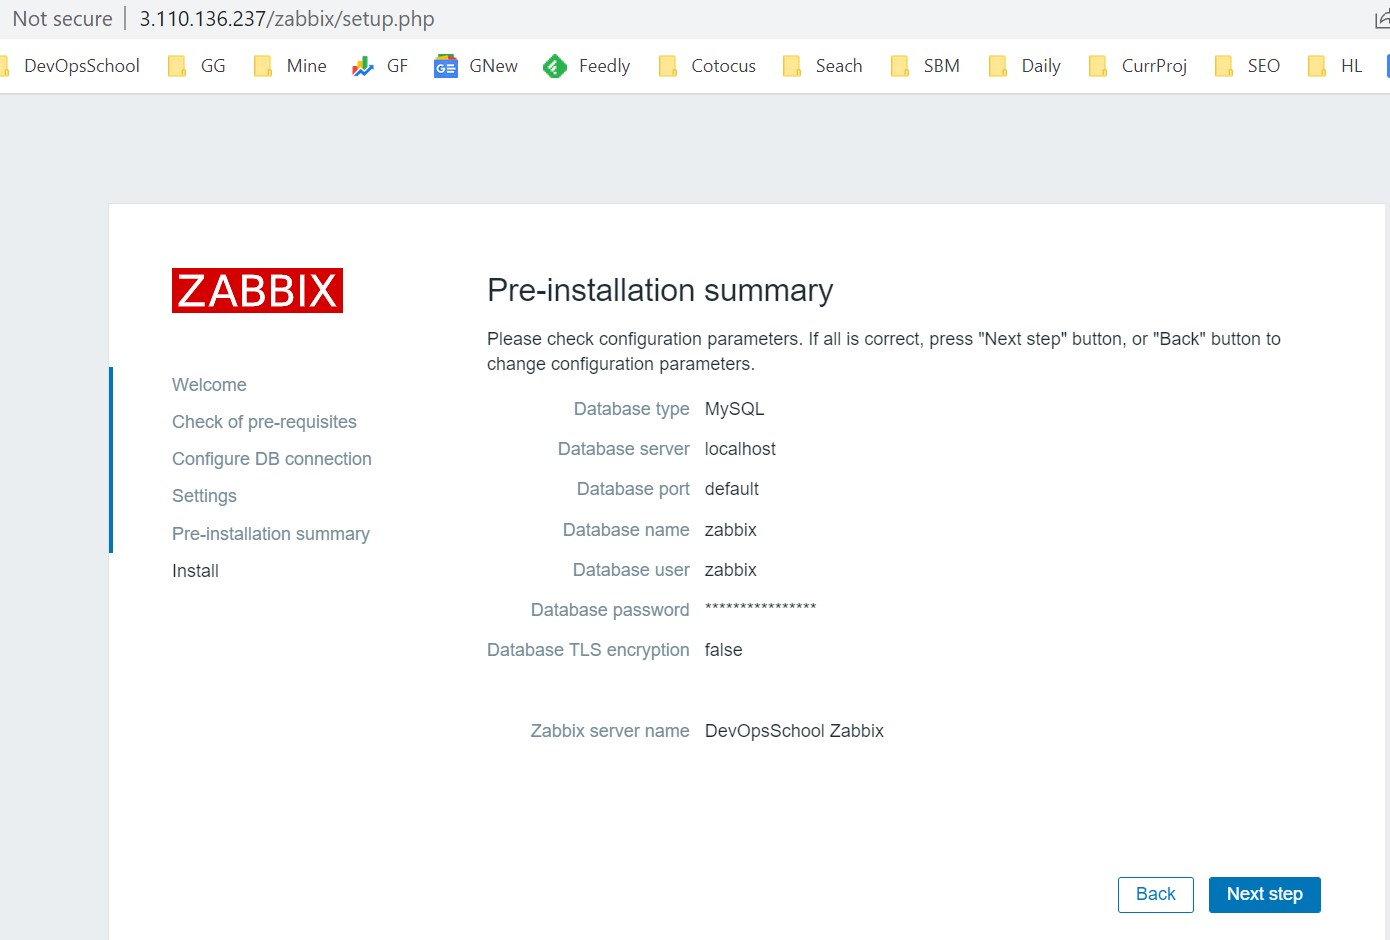
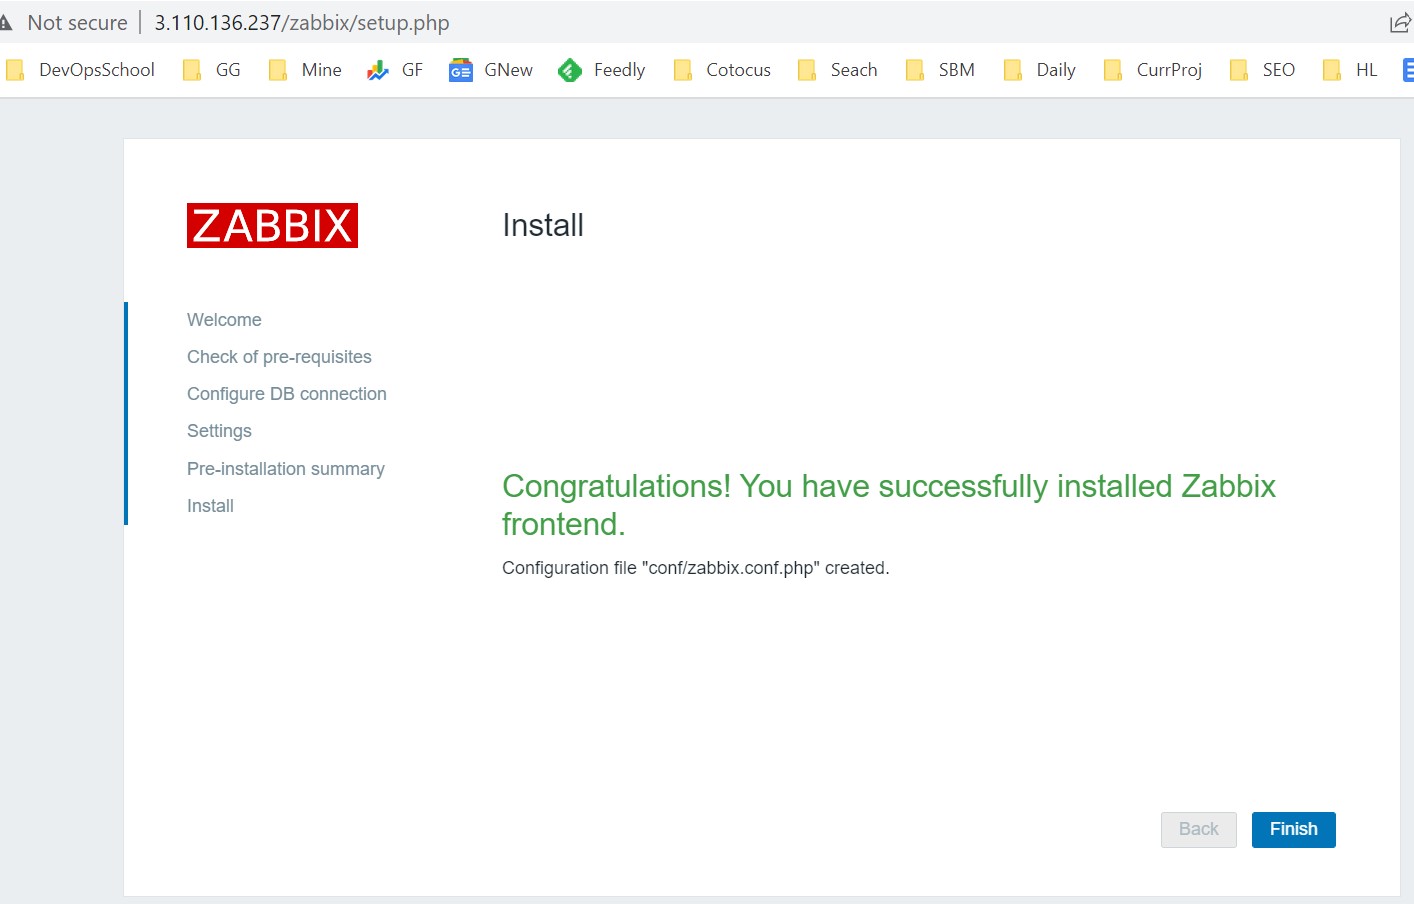
# systemctl status zabbix-server zabbix-agent apache2Code language: PHP (php)Step 6 – Configure Zabbix frontend
Connect to your newly installed Zabbix frontend: http://server_ip_or_name/zabbix
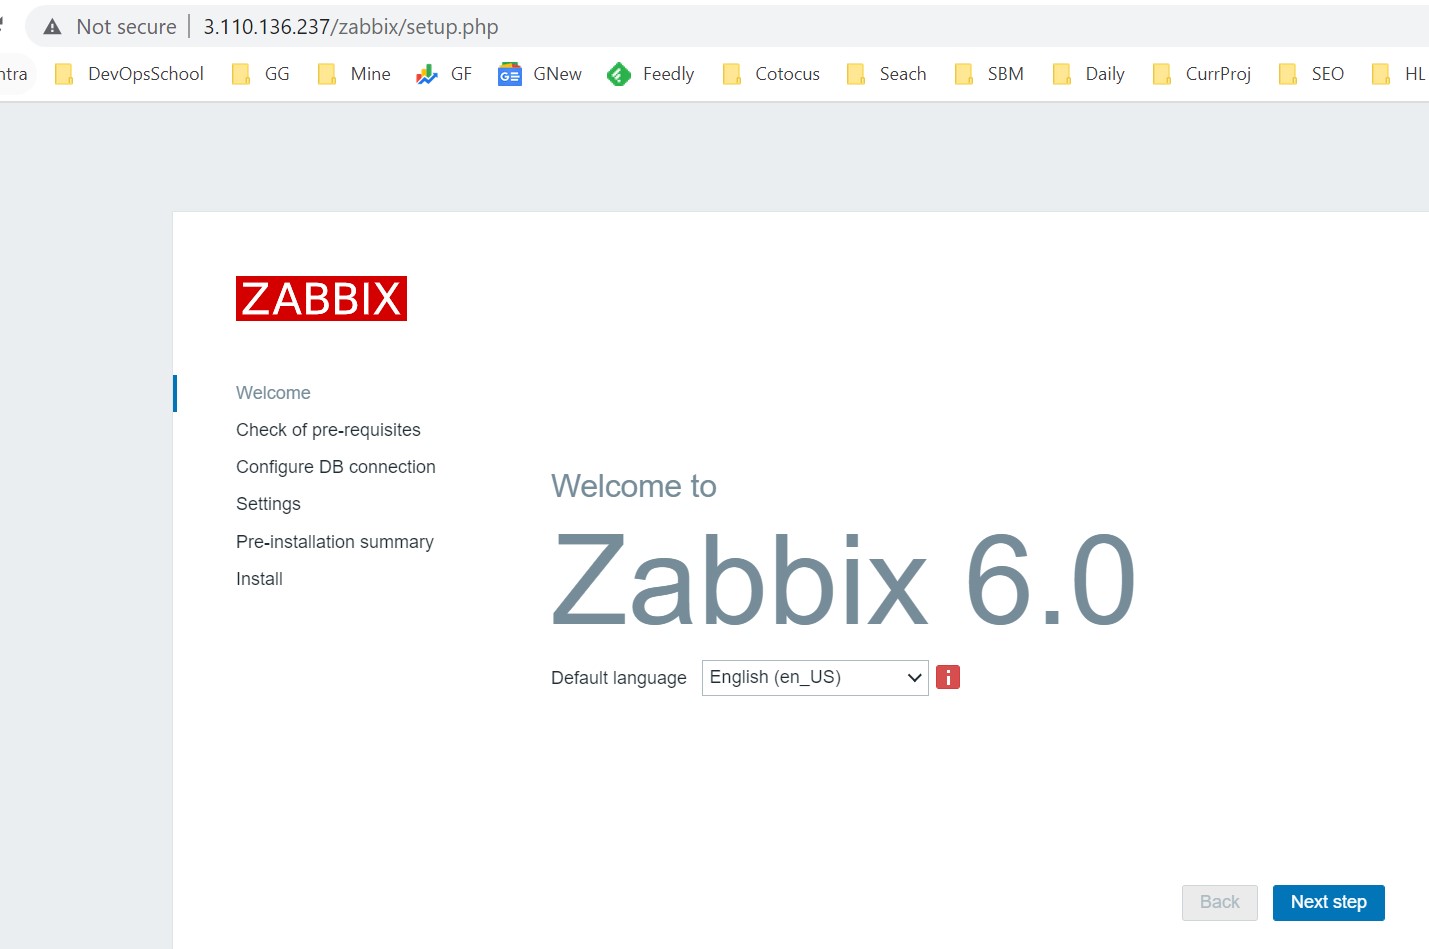
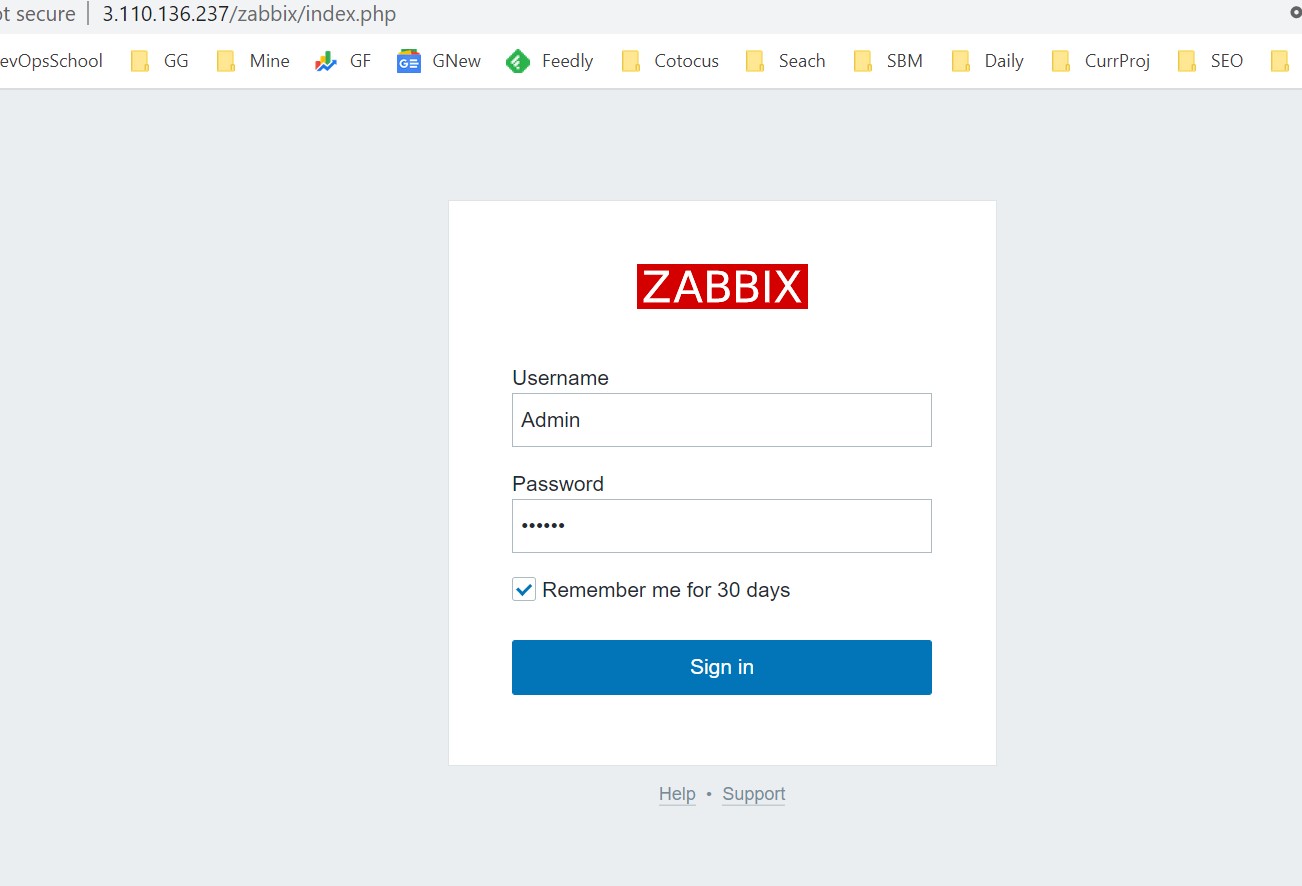
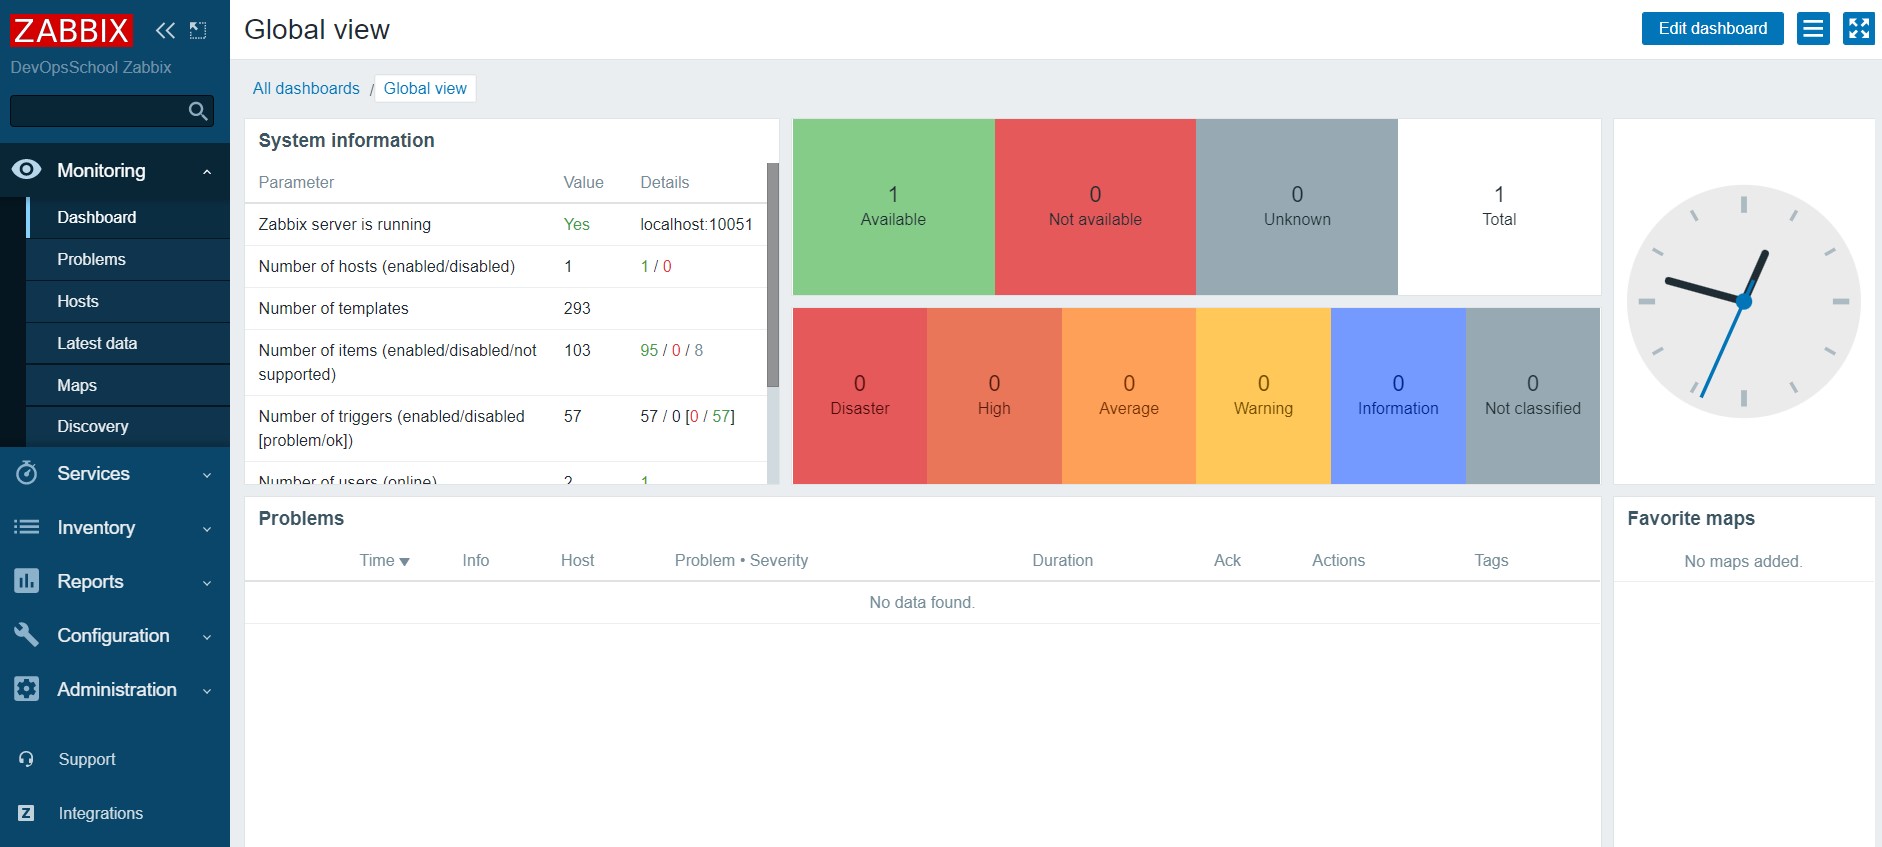
Step 7 – Start using Zabbix
This is the Zabbix welcome screen. Enter the user name – “Admin” with password – “zabbix” to log in as a Zabbix superuser. Access to Configuration and Administration menus will be granted.
I’m Rajesh Kumar, a DevOps, SRE, DevSecOps, Cloud, and Platform Engineering expert passionate about sharing practical knowledge, real-world experiences, and industry best practices. I have worked at Cotocus and regularly write about technology, travel, investing, health, product reviews, and digital marketing through my various platforms.
I publish technical articles at DevOps School, travel stories at Holiday Landmark, stock market insights at Stocks Mantra, health and fitness guidance at My Medic Plus, product reviews at TrueReviewNow, and SEO and digital marketing strategies at Wizbrand.
Find Trusted Cardiac Hospitals
Compare heart hospitals by city and services — all in one place.
Explore Hospitals