Here’s a step-by-step guide to install and run MLflow on Windows, covering setup, UI launch, and test tracking. This works on Windows 10/11 with Python ≥ 3.8.
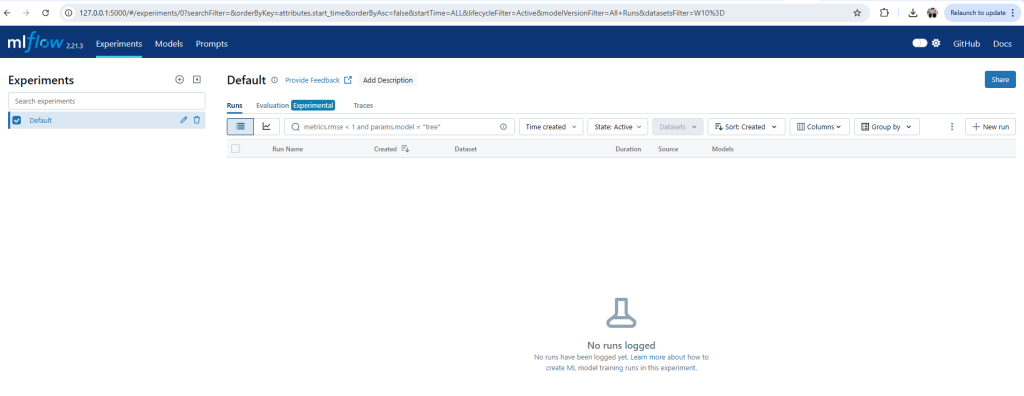
✅ Step-by-Step: Install & Run MLflow on Windows
🧰 Step 1: Install Python (if not already installed)
I’m Rajesh Kumar, a DevOps, SRE, DevSecOps, Cloud, and Platform Engineering expert passionate about sharing practical knowledge, real-world experiences, and industry best practices. I have worked at Cotocus and regularly write about technology, travel, investing, health, product reviews, and digital marketing through my various platforms.
I publish technical articles at DevOps School, travel stories at Holiday Landmark, stock market insights at Stocks Mantra, health and fitness guidance at My Medic Plus, product reviews at TrueReviewNow, and SEO and digital marketing strategies at Wizbrand.
Find Trusted Cardiac Hospitals
Compare heart hospitals by city and services — all in one place.
I'm Rajesh Kumar, a DevOps, SRE, DevSecOps, Cloud, and Platform Engineering expert passionate about sharing practical knowledge, real-world experiences, and industry best practices. I have worked at Cotocus and regularly write about technology, travel, investing, health, product reviews, and digital marketing through my various platforms.
I publish technical articles at DevOps School, travel stories at Holiday Landmark, stock market insights at Stocks Mantra, health and fitness guidance at My Medic Plus, product reviews at TrueReviewNow, and SEO and digital marketing strategies at Wizbrand.
Introduction In 2026, AI SEO tools have become indispensable for digital marketers, businesses, and content creators aiming to dominate search engine rankings. These tools leverage artificial intelligence…
Introduction Product Lifecycle Management (PLM) is a strategic approach to managing a product’s journey from conception through design, manufacturing, and end-of-life. In 2026, PLM software has evolved…
Introduction: The Importance of Patch Management in 2026 In 2026, as cyber threats evolve and technology becomes more complex, patch management tools are critical for maintaining cybersecurity…
Introduction In 2026, Headless Content Management Systems (CMS) have become the go-to solution for businesses seeking flexibility, scalability, and a modern approach to content management. Unlike traditional…
Introduction In 2026, AI lead scoring tools have become indispensable for B2B and B2C businesses aiming to optimize their sales pipelines. These tools leverage artificial intelligence to…
Introduction Investment management has always been about making smart choices at the right time. Traditionally, this required endless hours of research, manual calculations, and intuition. But in…