In my previous article I have explained about the best concept about Laravel in which I mentions what is Laravel and many things about its feature. if you want to check this then Please click on this link. Now In this tutorial I m going to share most important concept of which you have seen in the title of this article About Composer. So we are going to cover these things like What is Composer, and its Steps to download and install in this. Now let’s Start the Topic.
What is Composer?

Composer is a PHP dependency management system which is designed to do all cherry selection operations while preserving dependencies. It is built so that the desired component or package will not just be pulled into the PHP application. It also maintains the dependency of the components or packages necessary and produces a class map for the libraries downloaded.
The composer is in Laravel a tool that contains every dependency and library. It assists the user in developing a project inside the framework referred to. Composer allows for easy installation of third-party libraries.
Composer is a PHP programming language dependence manager that handles PHP software dependencies and necessary libraries. The composer has been created by Nils Adermann and Jordi Boggiano. Development started in April 2011 and was initially published on 1 March 2012.
Composer is executed via the command line. The composer mostly uses the installation of dependencies or libraries. The Composer additionally offers the customers with the Packagist to instal the accessible PHP apps where Packagist is the major package repository.
What are the commands used in Composer?
By hitting the up arrow on my code, I use various composer commands which sometimes I have to look at. So I believed I was able to collect and create an essay I would want to share so I don’t have to seek for an exact set of instructions.
Option Command

Available Command
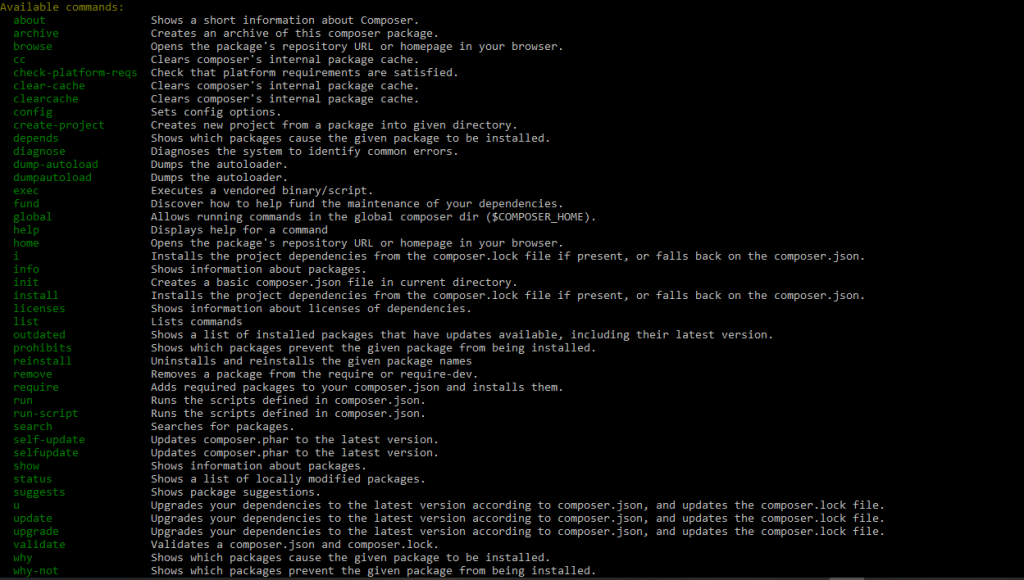
Some of the important commands used in Composer:-
- require:- Require command is used to provide libraries or packages as parameters to the composer.json file and subsequently install them. Assume I want to include the Facebook PHP SDK in the composer.json file.
- install:- Install command is used to install all of the composer.json libraries or packages. It would be useful to download from the composer.json file all PHP dependent repositories.
- update:- Update command is used to update all libraries or packages on the basis of the version of composer.json. We may say that the command update updates the newest version’s dependencies.
- remove:- Remove command is used to uninstall or remove the library or package from the file composer.json.
How to Download and Install Composer?
All the things are clear but without installing how you will use this composer. So in this section I will explain you how to download and install composer. there are few easy steps which you have to follow and after this you will use this frequently. Let’s follow the steps which I m explaining in following.
Download Composer process:-
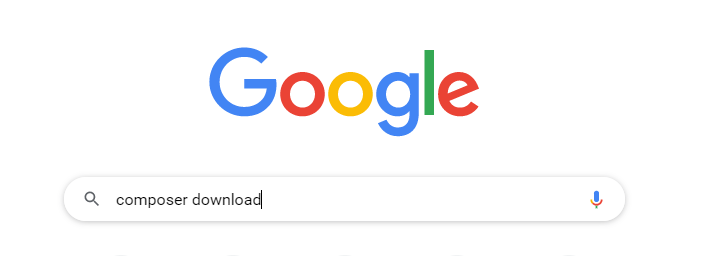
Step 1:- first of all you have to download the composer.exe file from internet. go to your browser and search composer download.
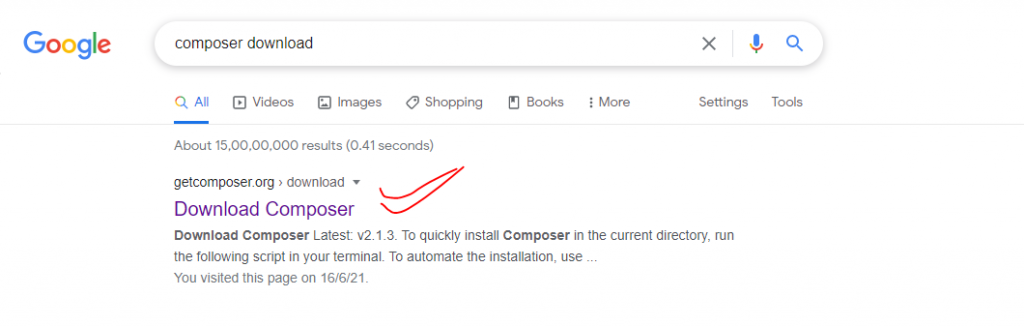
Step 2:- You will get the first result getcomposer.org Just click on this.
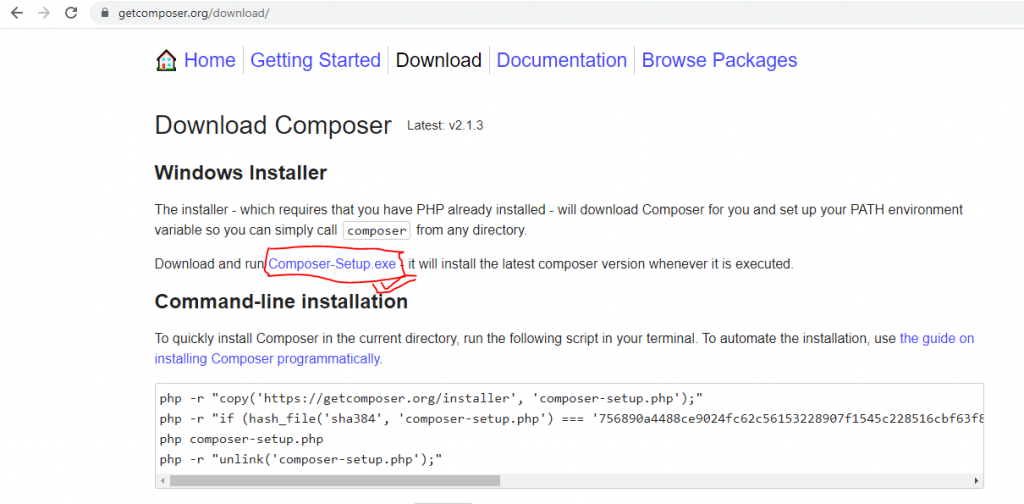
Step 3:- You will come on this page where you get this button Composer-Setup.exe Just click on this link and it will automatically download the composer setup file.
Here the Download process is Completed Now move on to the Install process.
Install Composer process:-
Step 1:- Go to your downloads and you will get Composer-Setup.exe file in your Downloads.
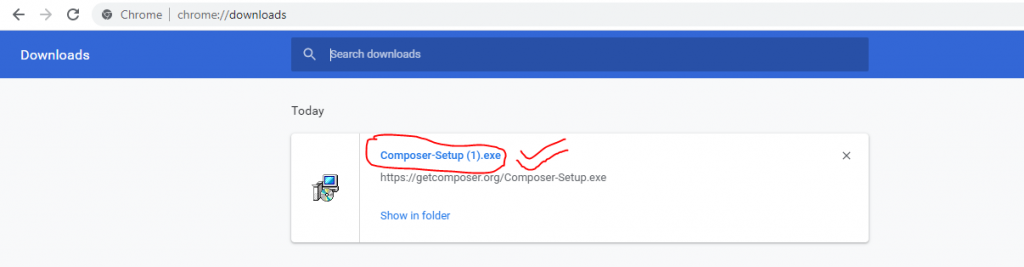
Step 2:- Just click on this and it will show you the setup file in front.
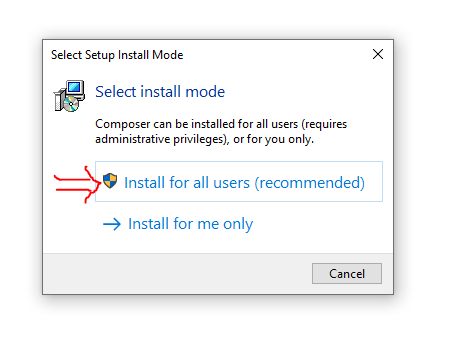
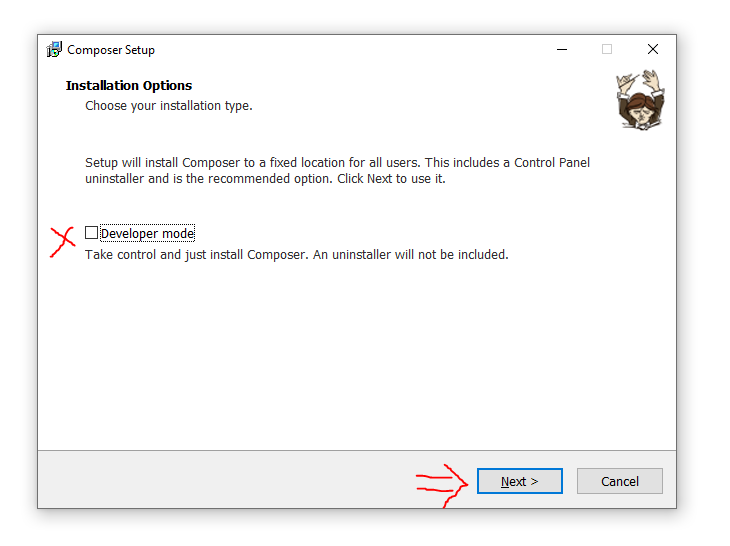
Step 3:- Click on Install for all users (recommended) and it will drag you to the installation process. And click on the Next button.
Note:- please don’t tick mark on Developer mode
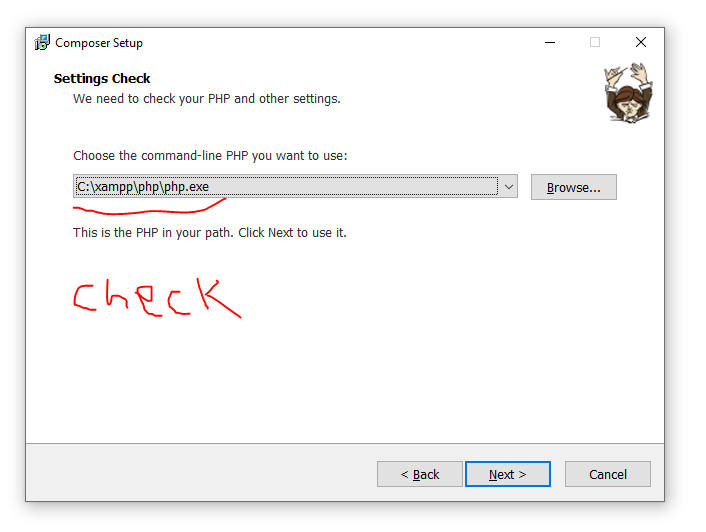
Step 4:- Then it wants to check the PHP folder in your drive. Please check your php path location is correct or not and Click on Next Button.
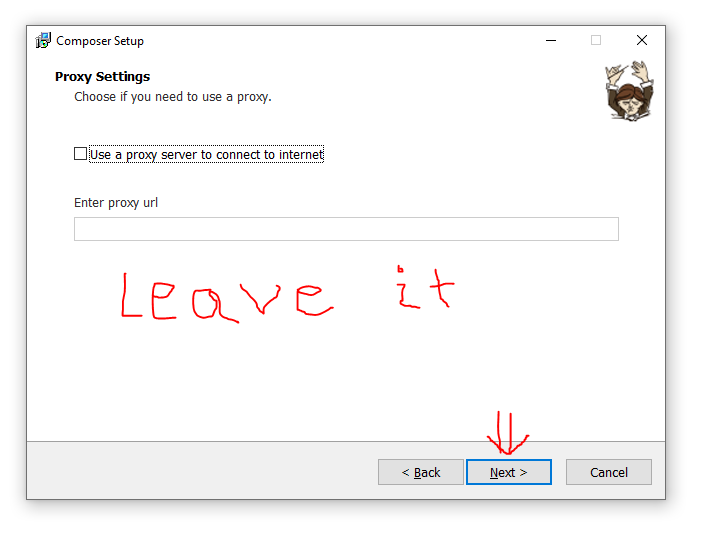
Step 5:- Don’t Do anything in proxy setting. and move to the Next Button and click it.
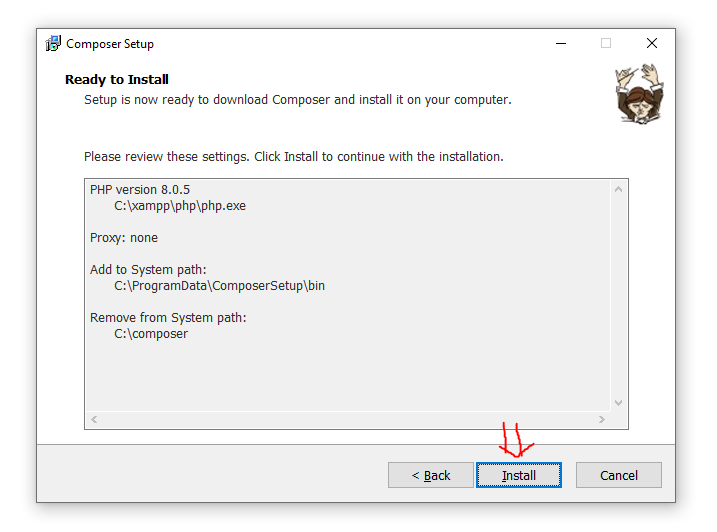
Step 6:- Now it is Ready to Install. Please click on the Install Button to all it to install.
Step 7:- It takes some time and it will show you the Completing composer setup. Just Click on the Finish Button and the Process is Completed.
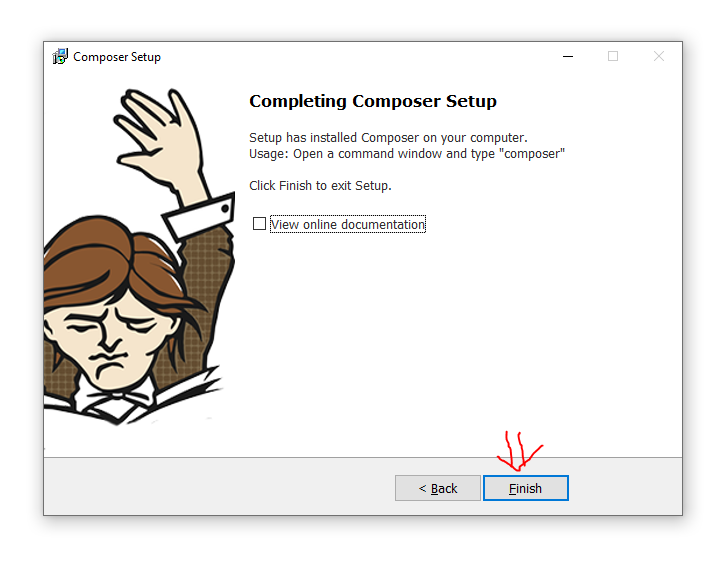
Here you are ready to run Composer command in your machine.
Where Composer is used?
Engine Yard Cloud recognizes you have a composer.lock file in your repository when you publish your PHP application. If you do, it launches composer, which takes in the data and gets the needed packages from your composer.lock file. When all packages are installed successfully by the composer and the autoload script for your application is created, Engine Yard Cloud removes a symlink and replaces this symbol with a link to your existing deploy. Basically Composer commend runs in a Command Prompt as shown in the picture.


👤 About the Author
Ashwani is passionate about DevOps, DevSecOps, SRE, MLOps, and AiOps, with a strong drive to simplify and scale modern IT operations. Through continuous learning and sharing, Ashwani helps organizations and engineers adopt best practices for automation, security, reliability, and AI-driven operations.
🌐 Connect & Follow:
- Website: WizBrand.com
- Facebook: facebook.com/DevOpsSchool
- X (Twitter): x.com/DevOpsSchools
- LinkedIn: linkedin.com/company/devopsschool
- YouTube: youtube.com/@TheDevOpsSchool
- Instagram: instagram.com/devopsschool
- Quora: devopsschool.quora.com
- Email– contact@devopsschool.com
Find Trusted Cardiac Hospitals
Compare heart hospitals by city and services — all in one place.
Explore Hospitals