INTRODUCTION:
In general, the use of JSON is used to communicate data from client to server and from server to client. In this article we are going to create a Flutter application that can perform the following functions.
(I)Display data from the server
(II)Add data to server
(III)Edit data to server
(IV)Delete data from server
I think these four functions are common to all of us who have made data communication from client to server or we often know the four functions as CRUD. Our focus here is on the app side not the server side. For the server side, I have prepared a fake json server that we can test to learn. Here’s the fake json link.
http://api.bengkelrobot.net:8001/api/profile
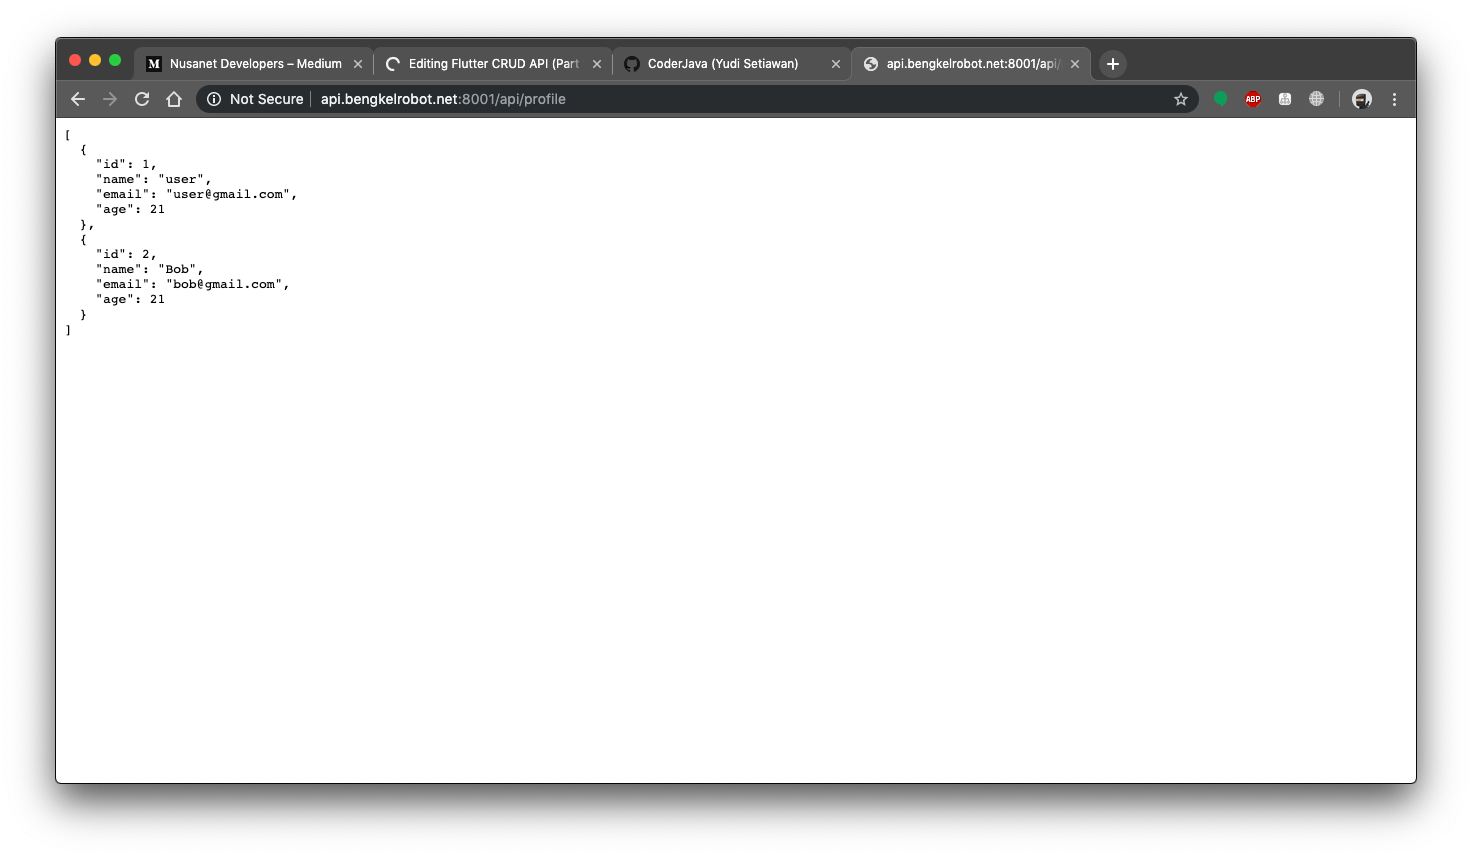
As for the endpoint list is as follows.

GET
http://api.bengkelrobot.net:8001/api/profile

POST
http://api.bengkelrobot.net:8001/api/profile
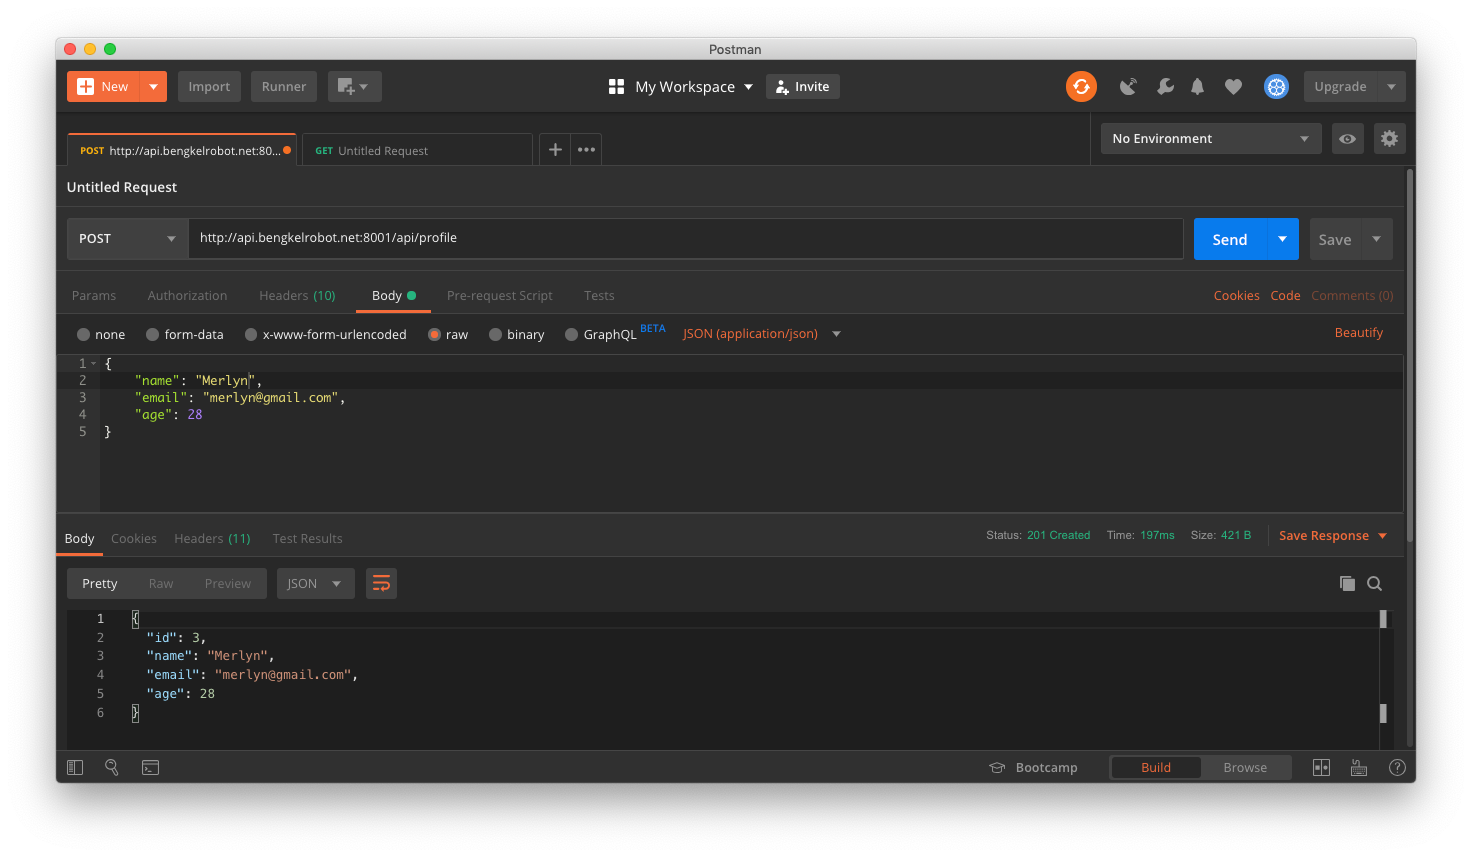
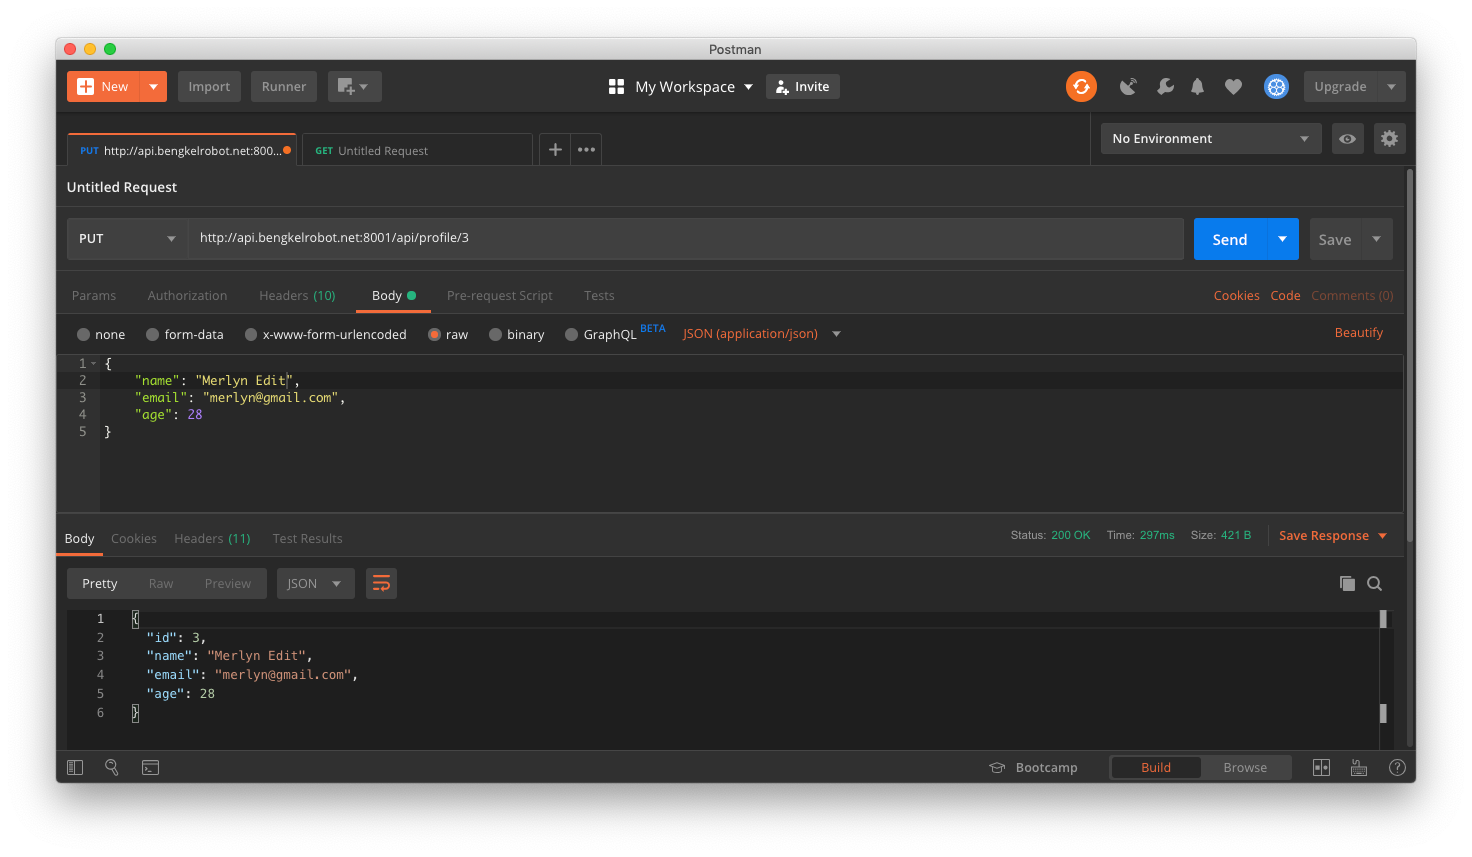
PUT
http://api.bengkelrobot.net:8001/api/profile/:id
Project Creation:
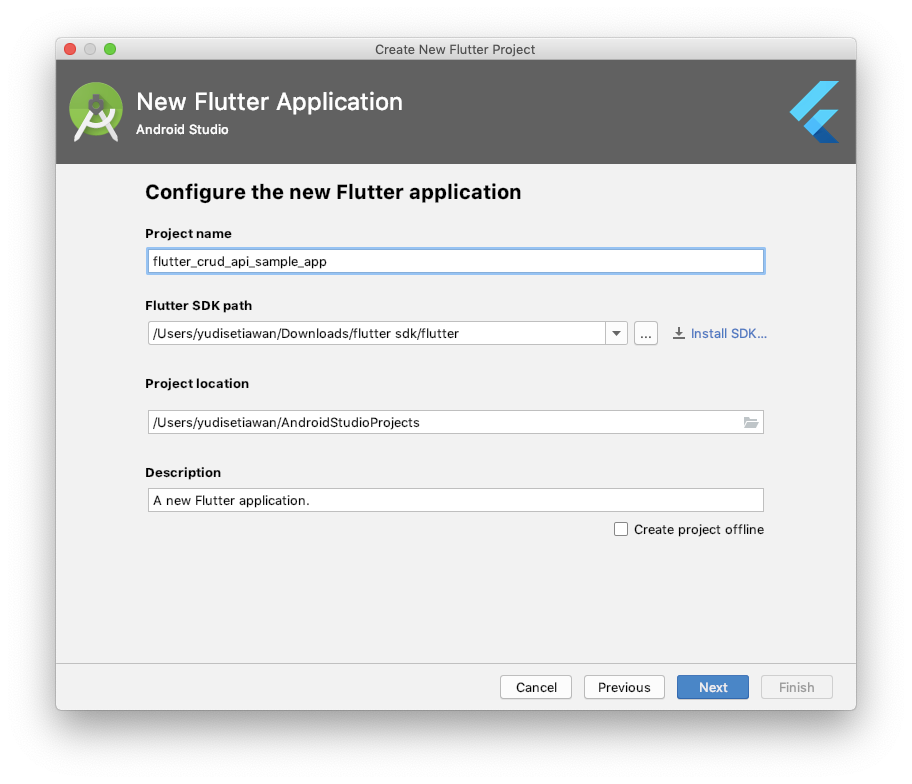
Now please create a new project by name
flutter_crud_api_sample_app.
Then, we add the http dependency to the pubspec.yaml file
dependencies:
flutter:
sdk: flutter
# The following adds the Cupertino Icons font to your application.
# Use with the CupertinoIcons class for iOS style icons.
cupertino_icons: ^0.1.2
http: ^0.12.0+2
Craete Class Model:
Now we need to create a model class from our endpoint response.
import ‘dart:convert’;
class Profile {
int id;
String name;
String email;
int age;
Profile({this.id = 0, this.name, this.email, this.age});
factory Profile.fromJson(Map<String, dynamic> map) {
return Profile(
id: map[“id”], name: map[“name”], email: map[“email”], age: map[“age”]);
}
Map<String, dynamic> toJson() {
return {“id”: id, “name”: name, “email”: email, “age”: age};
}
@override
String toString() {
return ‘Profile{id: $id, name: $name, email: $email, age: $age}’;
}
}
List<Profile> profileFromJson(String jsonData) {
final data = json.decode(jsonData);
return List<Profile>.from(data.map((item) => Profile.fromJson(item)));
}
String profileToJson(Profile data) {
final jsonData = data.toJson();
return json.encode(jsonData);
}
In the model class, we create 4 fields, namely, id, name, email, and age. Then, we create a constructor with parameters according to the four fields earlier. Then, we create a Named Constructor in the following code.
factory Profile.fromJson(Map<String, dynamic> map) {
return Profile(
id: map[“id”], name: map[“name”], email: map[“email”], age: map[“age”]);
}
Where, we are using the keyword factory which functions so as not to create new objects when we call the Named Constructor. We use Named Constructor to convert from Map to Class Model.
Then, we also create a conversion method from Class Model to Map in the following code.
Map<String, dynamic> toJson() {
return {“id”: id, “name”: name, “email”: email, “age”: age};
}
Then, we also create a function to convert the response from the API to our model class in the following code.
And a function to convert from model class to JSON Format in the form of a String in the following code.
List<Profile> profileFromJson(String jsonData) {
final data = json.decode(jsonData);
return List<Profile>.from(data.map((item) => Profile.fromJson(item)));
}
And a function to convert from model class to JSON Format in the form of a String in the following code.

String profileToJson(Profile data) {
final jsonData = data.toJson();
return json.encode(jsonData);
}
Create API Service:
Now we need to create an API Service class that works to make a request to the endpoint
import ‘package:flutter_crud_api_sample_app/src/model/profile.dart’;
import ‘package:http/http.dart’ show Client;
class ApiService {
final String baseUrl = “http://api.bengkelrobot.net:8001”;
Client client = Client();
Future<List<Profile>> getProfiles() async {
final response = await client.get(“$baseUrl/api/profile”);
if (response.statusCode == 200) {
return profileFromJson(response.body);
} else {
return null;
}
}
}
In the code above, we create a getProfiles function which functions to make GET requests to the endpoint
Test Class Model and API Service:
Now before we move on to creating the UI, it would be better if we first test whether the model class and API Service that we created are correct or not.
@override
Widget build(BuildContext context) {
ApiService().getProfiles().then((value) => print(“value: $value”));
…
}
Create the above code inside the default widget that was created when we created the project for the first time. Now try running the program and see in the logs if we get the data from the API.

Display data from the server
Create a Home Screen:
class HomeScreen extends StatefulWidget {
@override
_HomeScreenState createState() => _HomeScreenState();
}
class _HomeScreenState extends State<HomeScreen> {
ApiService apiService;
@override
void initState() {
super.initState();
apiService = ApiService();
}
@override
Widget build(BuildContext context) {
return SafeArea(
child: FutureBuilder(
future: apiService.getProfiles(),
builder: (BuildContext context, AsyncSnapshot<List<Profile>> snapshot) {
if (snapshot.hasError) {
return Center(
child: Text(
“Something wrong with message: ${snapshot.error.toString()}”),
);
} else if (snapshot.connectionState == ConnectionState.done) {
List<Profile> profiles = snapshot.data;
return _buildListView(profiles);
} else {
return Center(
child: CircularProgressIndicator(),
);
}
},
),
);
}
Widget _buildListView(List<Profile> profiles) {
return Padding(
padding: const EdgeInsets.symmetric(vertical: 8.0, horizontal: 16.0),
child: ListView.builder(
itemBuilder: (context, index) {
Profile profile = profiles[index];
return Padding(
padding: const EdgeInsets.only(top: 8.0),
child: Card(
child: Padding(
padding: const EdgeInsets.all(16.0),
child: Column(
crossAxisAlignment: CrossAxisAlignment.start,
children: <Widget>[
Text(
profile.name,
style: Theme.of(context).textTheme.title,
),
Text(profile.email),
Text(profile.age.toString()),
Row(
mainAxisAlignment: MainAxisAlignment.end,
children: <Widget>[
FlatButton(
onPressed: () {
// TODO: do something in here
},
child: Text(
“Delete”,
style: TextStyle(color: Colors.red),
),
),
FlatButton(
onPressed: () {
// TODO: do something in here
},
child: Text(
“Edit”,
style: TextStyle(color: Colors.blue),
),
),
],
),
],
),
),
),
);
},
itemCount: profiles.length,
),
);
}
}
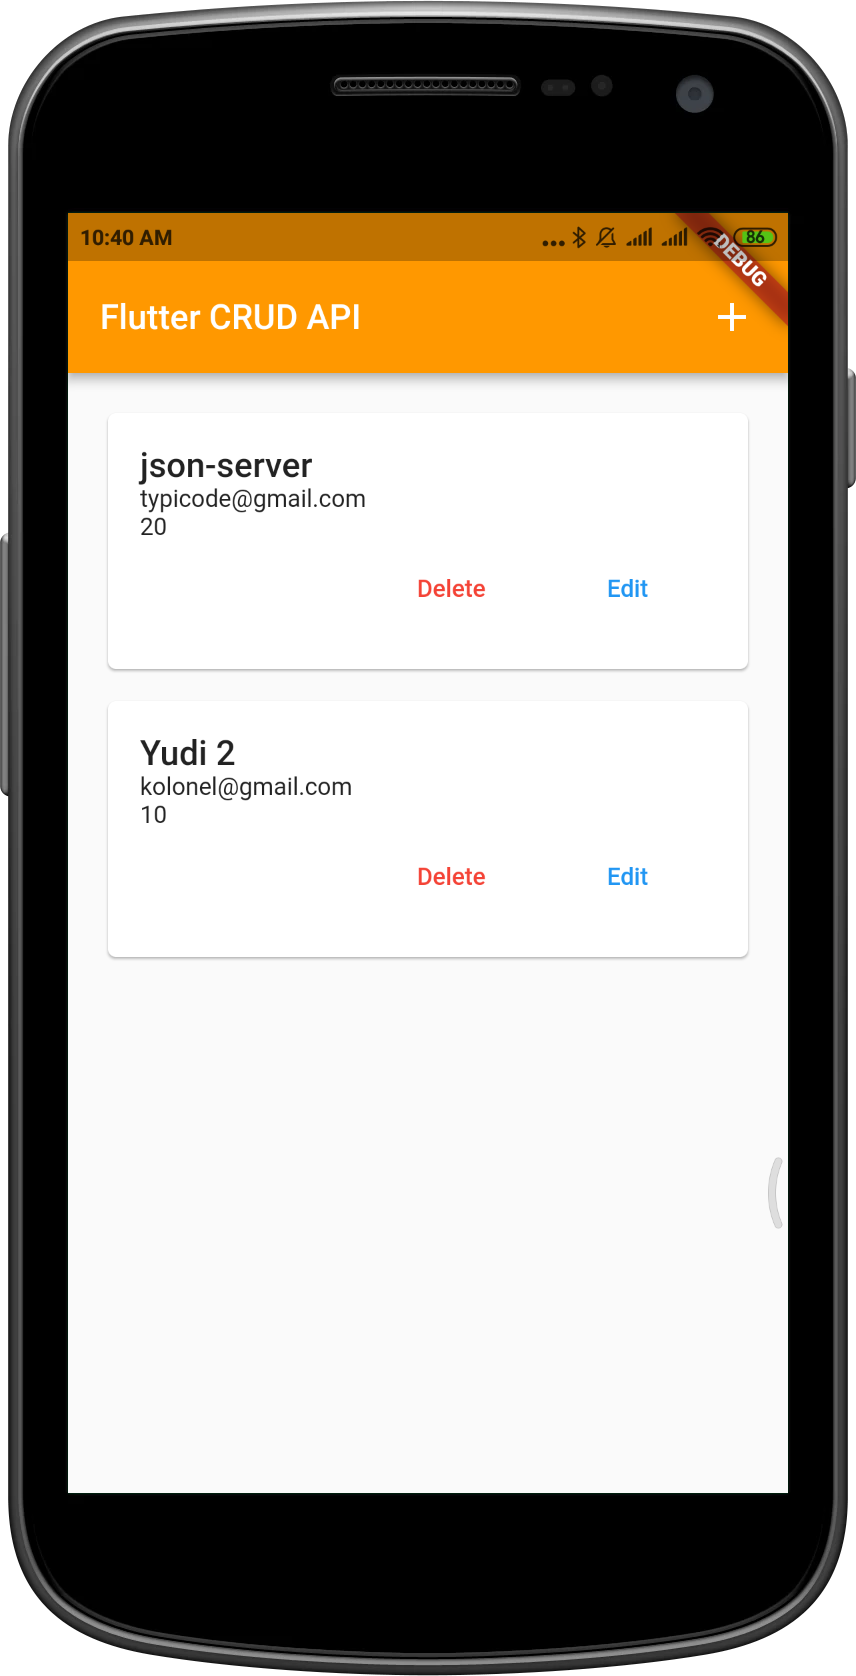
In the code above, we create a separate TextField widget (in the form of a method) which is intended to make it easier to read the code.
In form_add_screen.dart inside the onPressed callback we write code to post data to the API. So, to post data to the API we apply the following logic.
We first check whether all fields are valid or not.
Then, we take the values of each field.
Then, we wrap each data field into the profile.dart object
Then, we change the profile.dart object to a json form by using the profileToJson () method.
And here’s the code that does the job.

Find Trusted Cardiac Hospitals
Compare heart hospitals by city and services — all in one place.
Explore Hospitals