Step 1 – Download a file beat pacage
$ cd /opt
$ yum install wget -y
$ wget https://artifacts.elastic.co/downloads/beats/filebeat/filebeat-8.3.3-linux-x86_64.tar.gz
$ tar -zxvf filebeat-8.3.3-linux-x86_64.tar.gz
$ cd filebeat-8.3.3-linux-x86_64Code language: JavaScript (javascript)
Step 2 – Configure input in filebeat.yml
# Each - is an input. Most options can be set at the input level, so
# you can use different inputs for various configurations.
# Below are the input specific configurations.

# filestream is an input for collecting log messages from files.
- type: filestream

  # Unique ID among all inputs, an ID is required.
  id: my-filestream-id

  # Change to true to enable this input configuration.
  enabled: true

  # Paths that should be crawled and fetched. Glob based paths.
  paths:
    - /var/log/*.log
    #- c:\programdata\elasticsearch\logs\*Code language: PHP (php)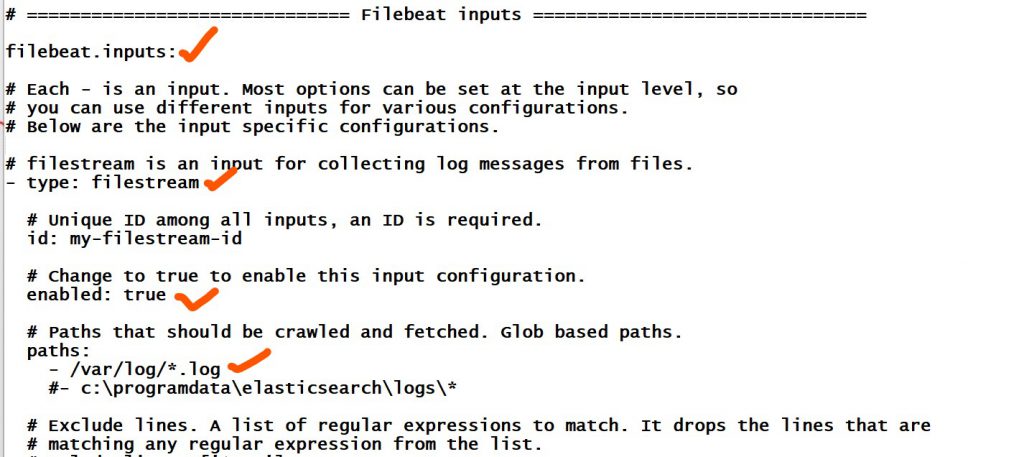
Step 3 – Configure output in filebeat.yml
output.elasticsearch:
  hosts: ["https://172.18.0.2:9200"]
  username: "elastic"
  password: "qgWrZ8dzJtp*nB4HLIHZ"
  ssl:
    enabled: true
    ca_trusted_fingerprint: "069dd4ec9161d86b6299a2823c1f66c5c7a1afd47550c8521bb07e6e0c4cf329" Code language: JavaScript (javascript)
Step 4 – Configure Kibana in filebeat.yml
  setup.kibana:
    host: "172.18.0.3:5601"
    username: "elastic"
    password: "{qgWrZ8dzJtp*nB4HLIHZ}"Code language: JavaScript (javascript)
Step 5 – To test your configuration file
$ ./filebeat test config -eStep 6 – Setup Assets
Filebeat comes with predefined assets for parsing, indexing, and visualizing your data. To load these assets:
$ ./filebeat setup -eCode language: JavaScript (javascript)
Step 7 – Start the filebeat daemon
$ sudo chown root filebeat.yml
$ sudo ./filebeat -e -c filebeat.yml
I’m Rajesh Kumar, a DevOps, SRE, DevSecOps, Cloud, and Platform Engineering expert passionate about sharing practical knowledge, real-world experiences, and industry best practices. I have worked at Cotocus and regularly write about technology, travel, investing, health, product reviews, and digital marketing through my various platforms.
I publish technical articles at DevOps School, travel stories at Holiday Landmark, stock market insights at Stocks Mantra, health and fitness guidance at My Medic Plus, product reviews at TrueReviewNow, and SEO and digital marketing strategies at Wizbrand.
Find Trusted Cardiac Hospitals
Compare heart hospitals by city and services — all in one place.
Explore Hospitals