So here’s what we’re going to build, a RESTful service, which allows you to sign up as a user, and then create meetings, sign up for meetings, and
register for meetings, delete a meeting, or change meeting. So a little organizer-like application.
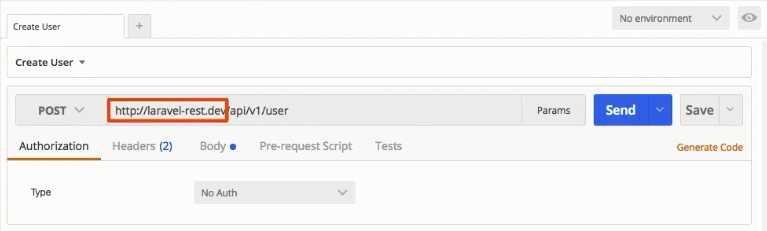
Here, I’m on the route of creating a new user, and make sure that later on in this course when you try this on you own application we’re building
throughout this course, to change the URL you see here to the URL pointing to your RESTful server, or to your server hosting create a new user,
which is why I have the Post method selected here.
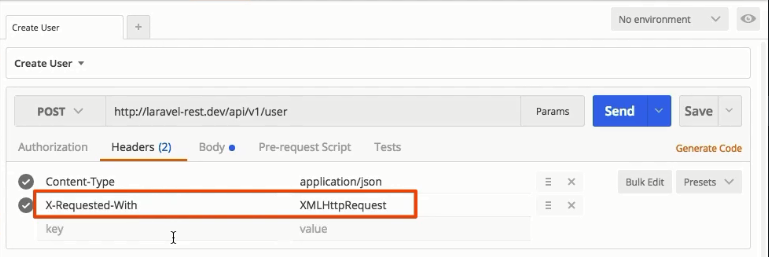
And also, later in another article, make sure to provide one extra post. Besides the Content-Type, which is application/JSON, make sure to provide the X-Requested-With header with a value of XMLHttp Request. This is required by Laravel to handle your requests correctly, especially when it comes to things like validation and returning errors.
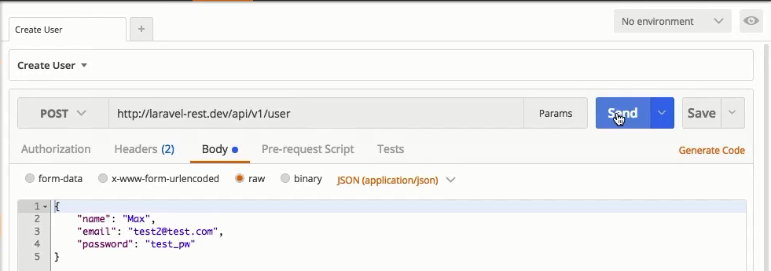
Here for creating a new user, I pass a Post body, so a JSON object where I pass the name of the user I want to create, and email, and a password.
Now if I click Send, you see that I also get a JSON response where, well, I’m told that the user was created. I can then use this user to sign in this route,
and pass in the credentials I just created, which returns me a JSON token, which is the security mechanism used in this course.

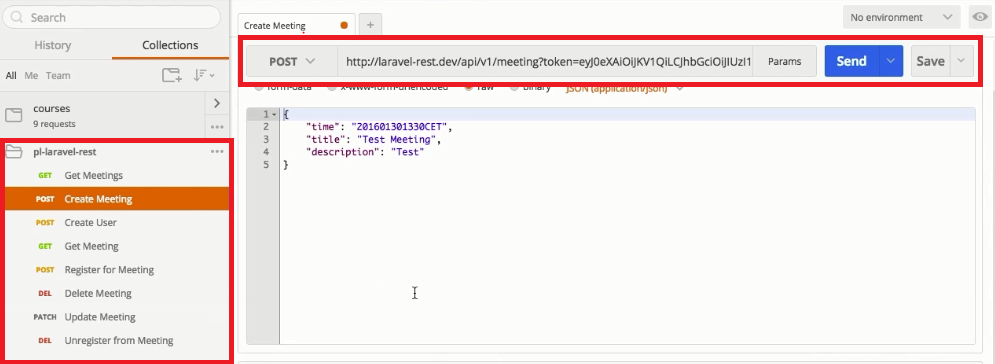
And of course, you will learn more about this in my upcoming articles. And with that, I’m for example, able to create a new meeting bypassing
the token with the request, passing some meeting data like the time when I want this meeting to happen, a name, and a description,
I’m going to click send here; this actually creates such a new meeting. Now I’m not going to go through all these routes here, but I think you get
the idea of what this application does, and how it works. And I’m very excited to get started with that.
Find Trusted Cardiac Hospitals
Compare heart hospitals by city and services — all in one place.
Explore Hospitals