Step 1 – Create a fresh laravel projet
First off all , create a project using following command given below –


Change Directory to AjaxCrud folder
$ cd AjaxCrud
Step 2 – Configure Database in .env file

Step 3 – Open Xampp tool and start the server

Go to phpMyAdmin and create database with same name as .env database name

Step 4 – Set default string length
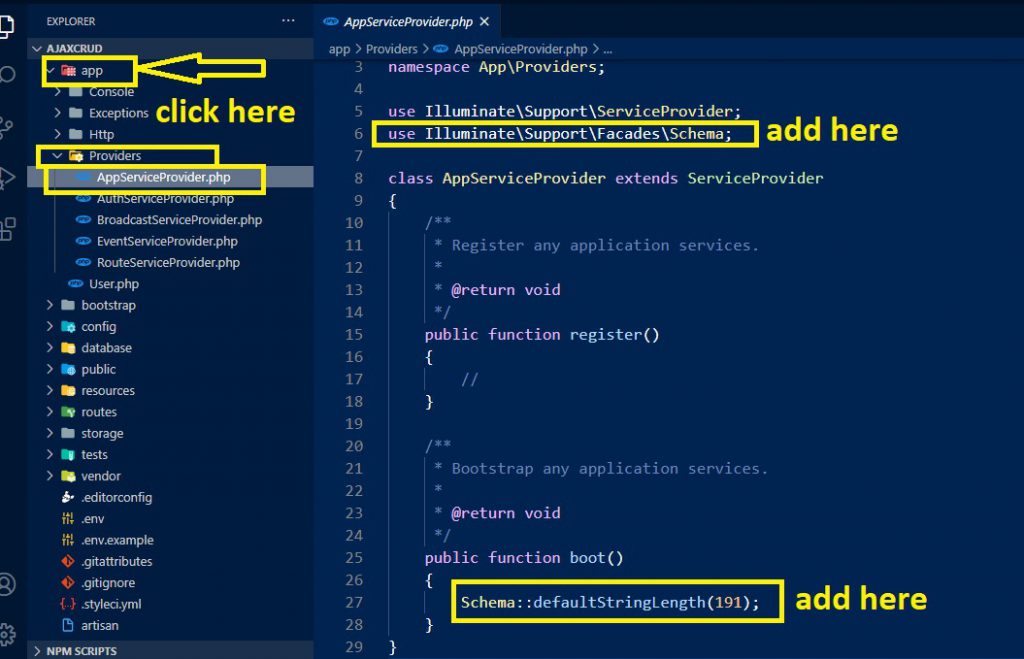
Locate the file “app/Providers/AppServiceProvider.php” and add following line of code to the top of the file.
use Illuminate\Support\Facades\Schema;add inside the boot method set a default string length as given below –
Schema::defaultStringLength(191);
Step 5 – Create Database table and Migrate
Now, we have to define table schema for posts table. Open terminal and let’s run the following command to generate a migration file to create posts table in our database

Step 6 – Open Migration file and put the following code in it
Run Migration Command
$ php artisan migrate
Step 7 – Create Model and Some Code
$ php artisan make:model Post
Inside Model, we are adding some code
Step 8 – Create Controller Using Command
php artisan make:controller ajaxcrud/AjaxPostController
Inside AjaxPostController, we are adding following code given below –
Step 9 – Create Blade File/View File
Let’s Create a blade file “index.blade.php” in the “resources/views/ajaxcrud/” directory and put the following code in it respectively
Step 10 – Create Resource Routes
We need to add a resource route in “routes/web.php”. Let’s open “routes/web.php” file and add the following route.
Route::resource('ajax-posts', 'ajaxcrud\AjaxPostController');Start The Development Server
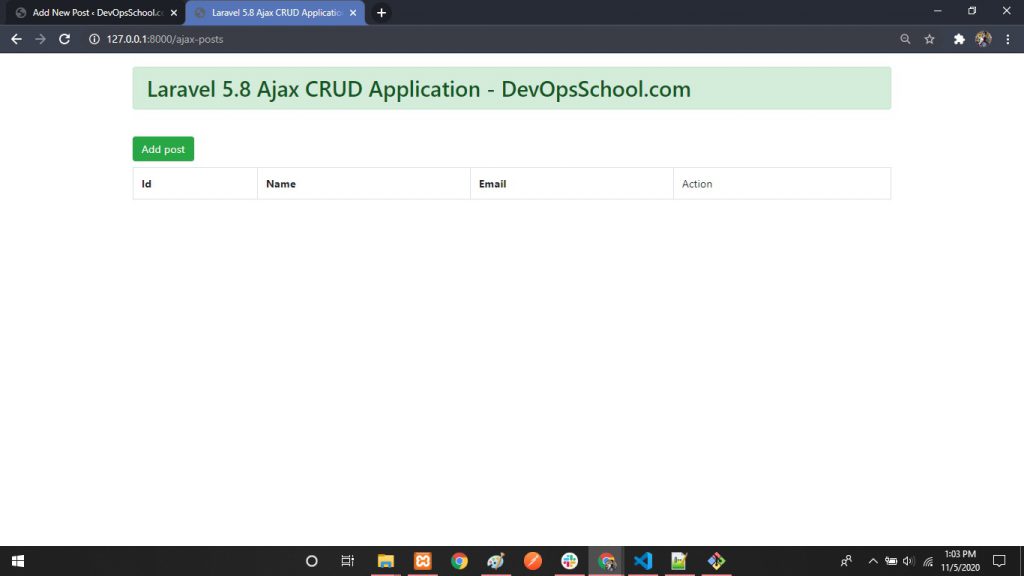
$ php artisan serveOutput

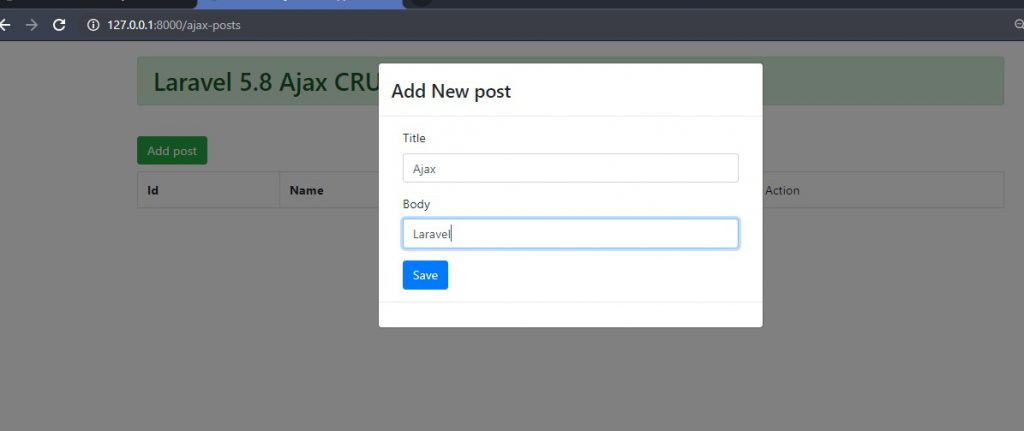
Add Post


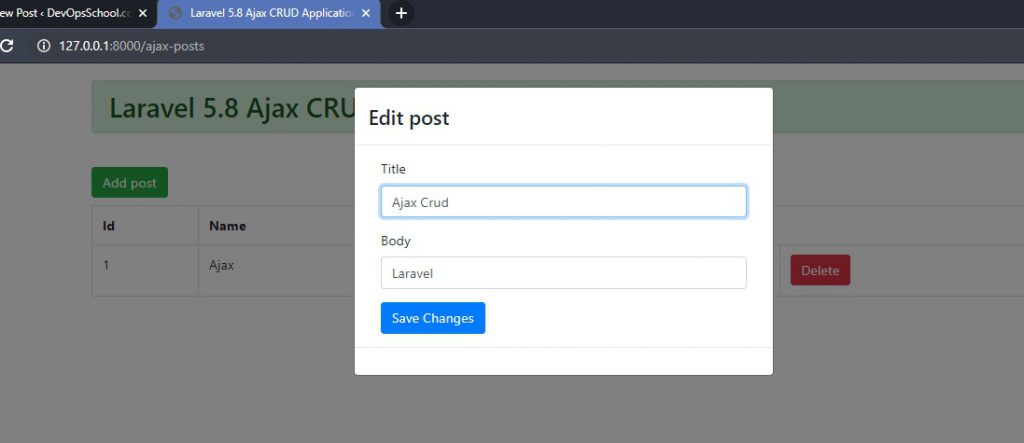
Edit, we are editing and updating the data


- Apache Lucene Query Example - April 8, 2024
- Google Cloud: Step by Step Tutorials for setting up Multi-cluster Ingress (MCI) - April 7, 2024
- What is Multi-cluster Ingress (MCI) - April 7, 2024

